- Posted on
- • Lens repairs
Sony FE 50mm F1.4 ZA - focus repair with a touch of hybrid surgery
- Author
-
-

- User
- Photo-parts
- Posts by this author
- Posts by this author
-
Among Sony E-mount lenses, the G Master and Zeiss (ZA) series stand out in particular.
The G series is supposed to deliver mind-blowing image quality, fast autofocus, and record-breaking aperture speed, while the ZA line, in turn, focuses on artistic rendering (allegedly) - and fair enough, Carl Zeiss engineers did lend a hand in designing the optics!
I'll leave this kind of classification to the marketing department, but from my own experience, there's nothing alien about Zeiss-branded lenses. They're still standard Sony system lenses, instantly recognizable once you take a look inside.
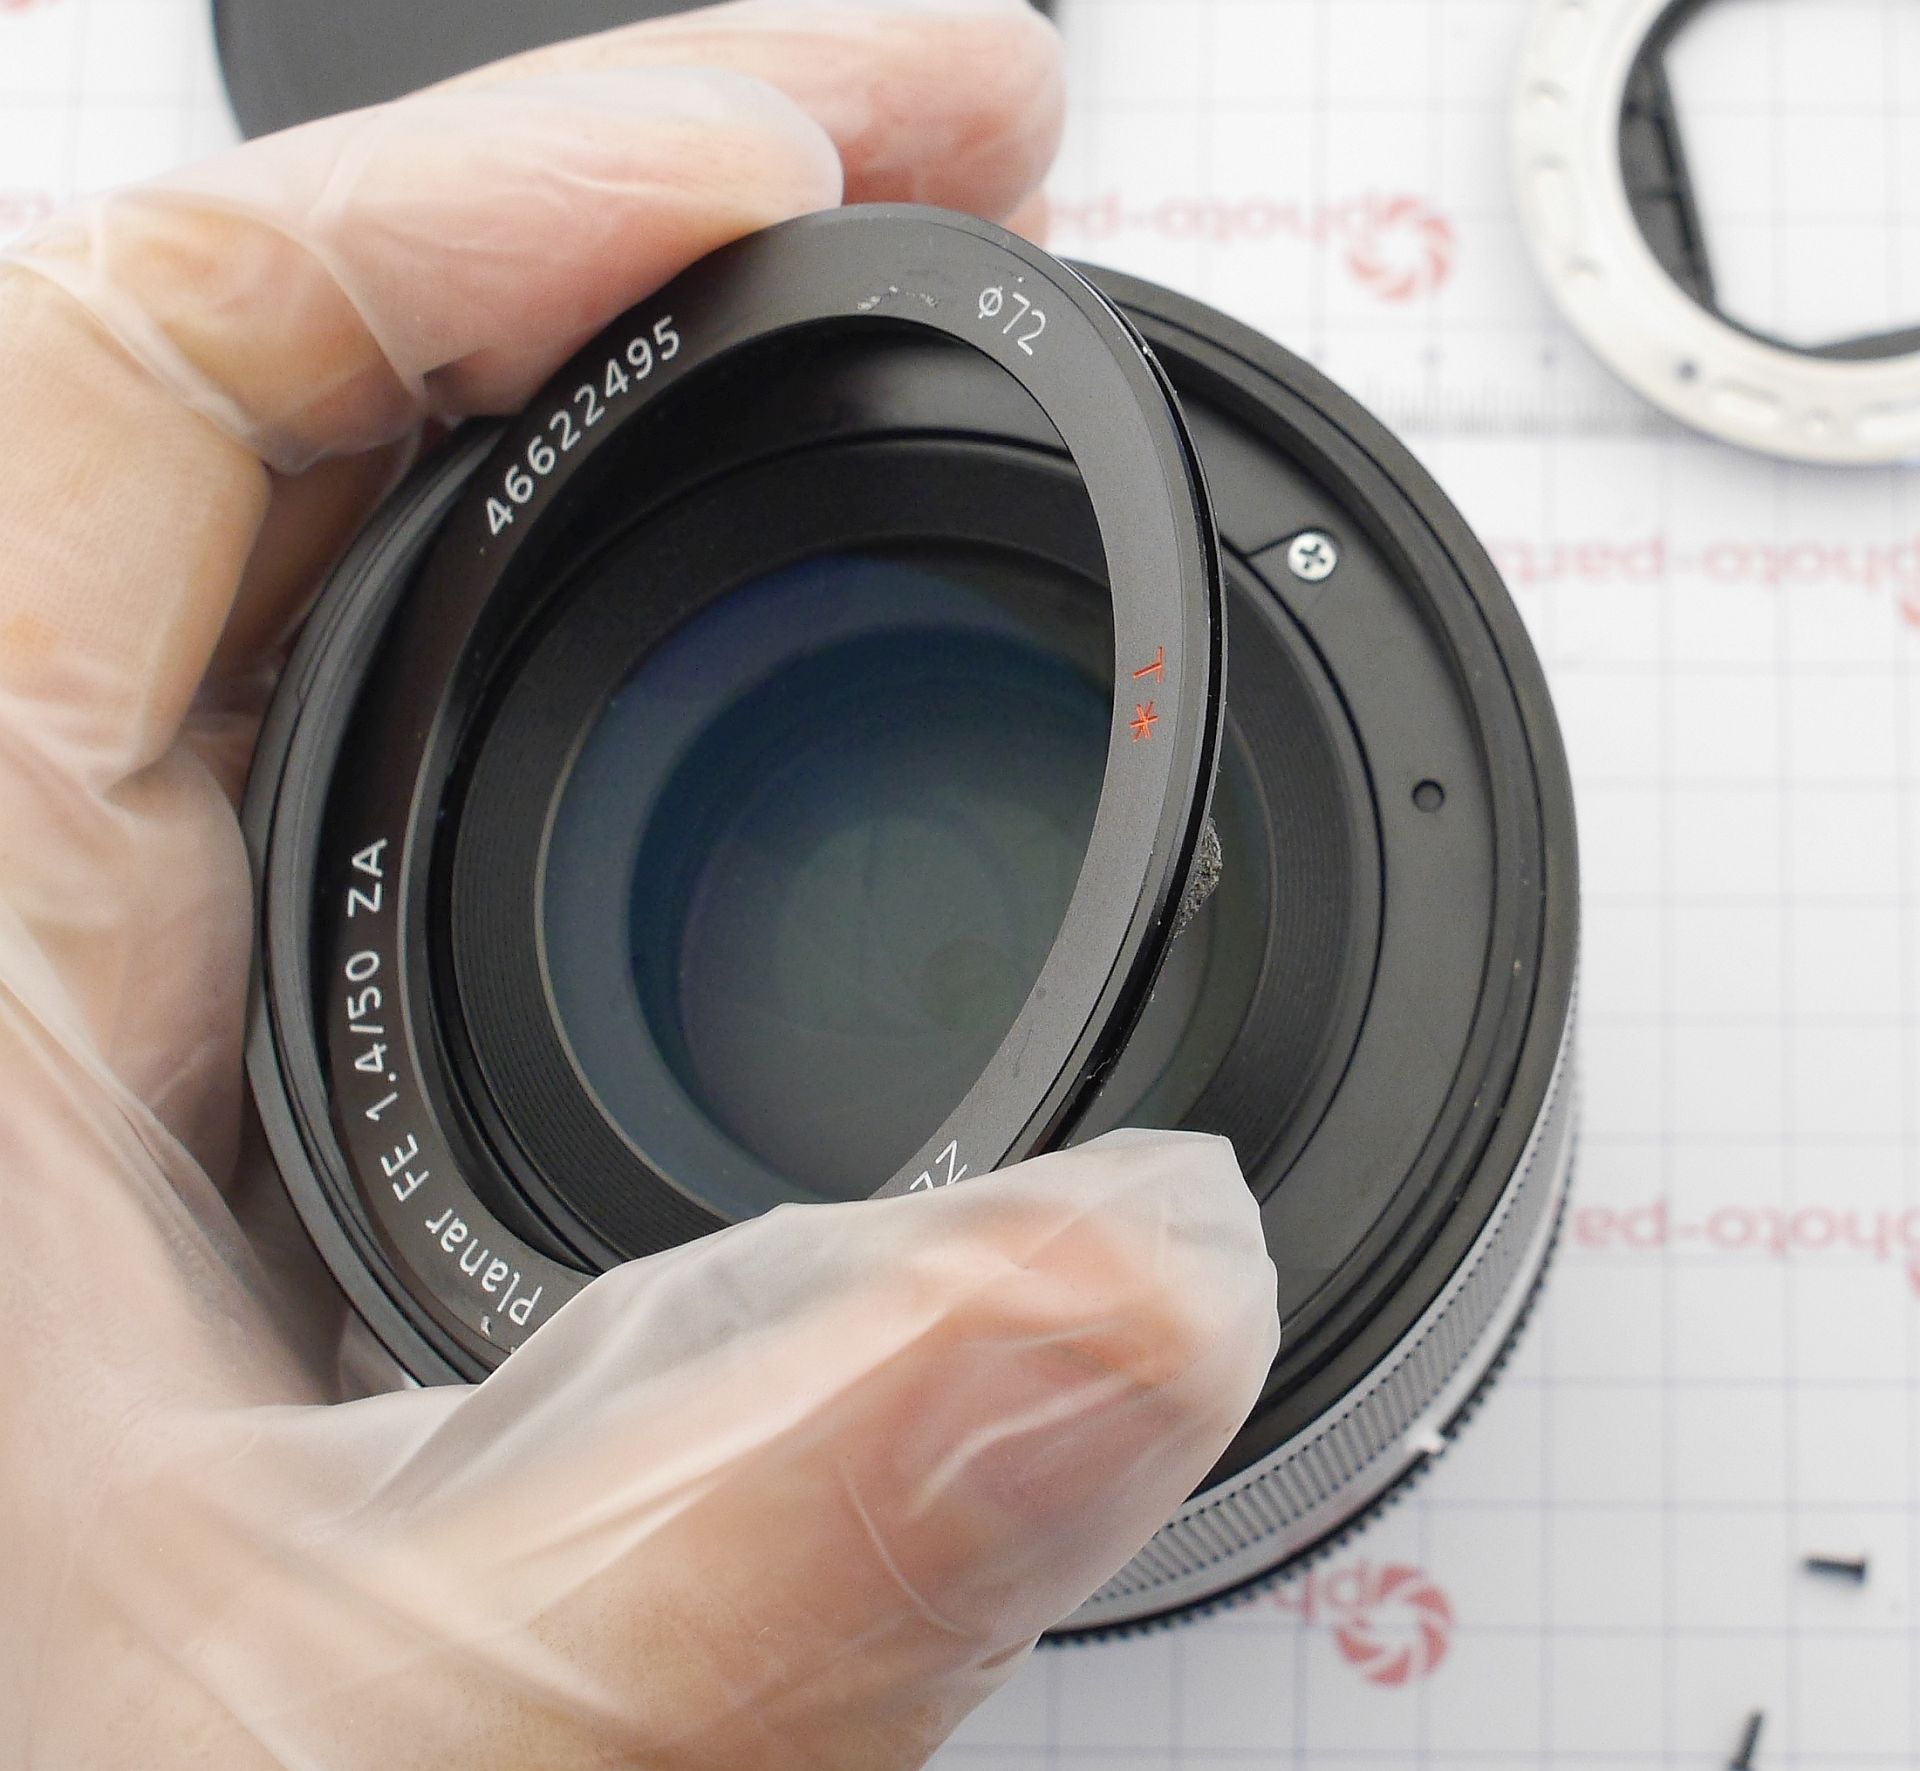
But the lens I'm dealing with here is an absolute beast - the Planar T FE 50mm F1.4 ZA*. Compared to other system 50mm f/1.4 lenses, it impresses right away with its size and weight. I've rarely held a 50mm lens this massive - maybe just the Sigma 50mm 1.4 Art comes close in terms of weight.
The image quality is also seriously impressive - razor sharp wide open, with a pleasing bokeh. I don't have the words to describe its character - I fix cameras, I don't shoot with them.
After disassembly, though, my jaw dropped. This thing is engineered like money was no object.
But back to why it's on my workbench. The issue isn't typical - focus is jumpy and unstable, often overshooting the sharpest point. In manual focus mode, even the slightest turn of the ring sends the focus flying from one extreme to the other. And the motor makes a whining noise when powering down.
Let's dive into the teardown and see what's going on!
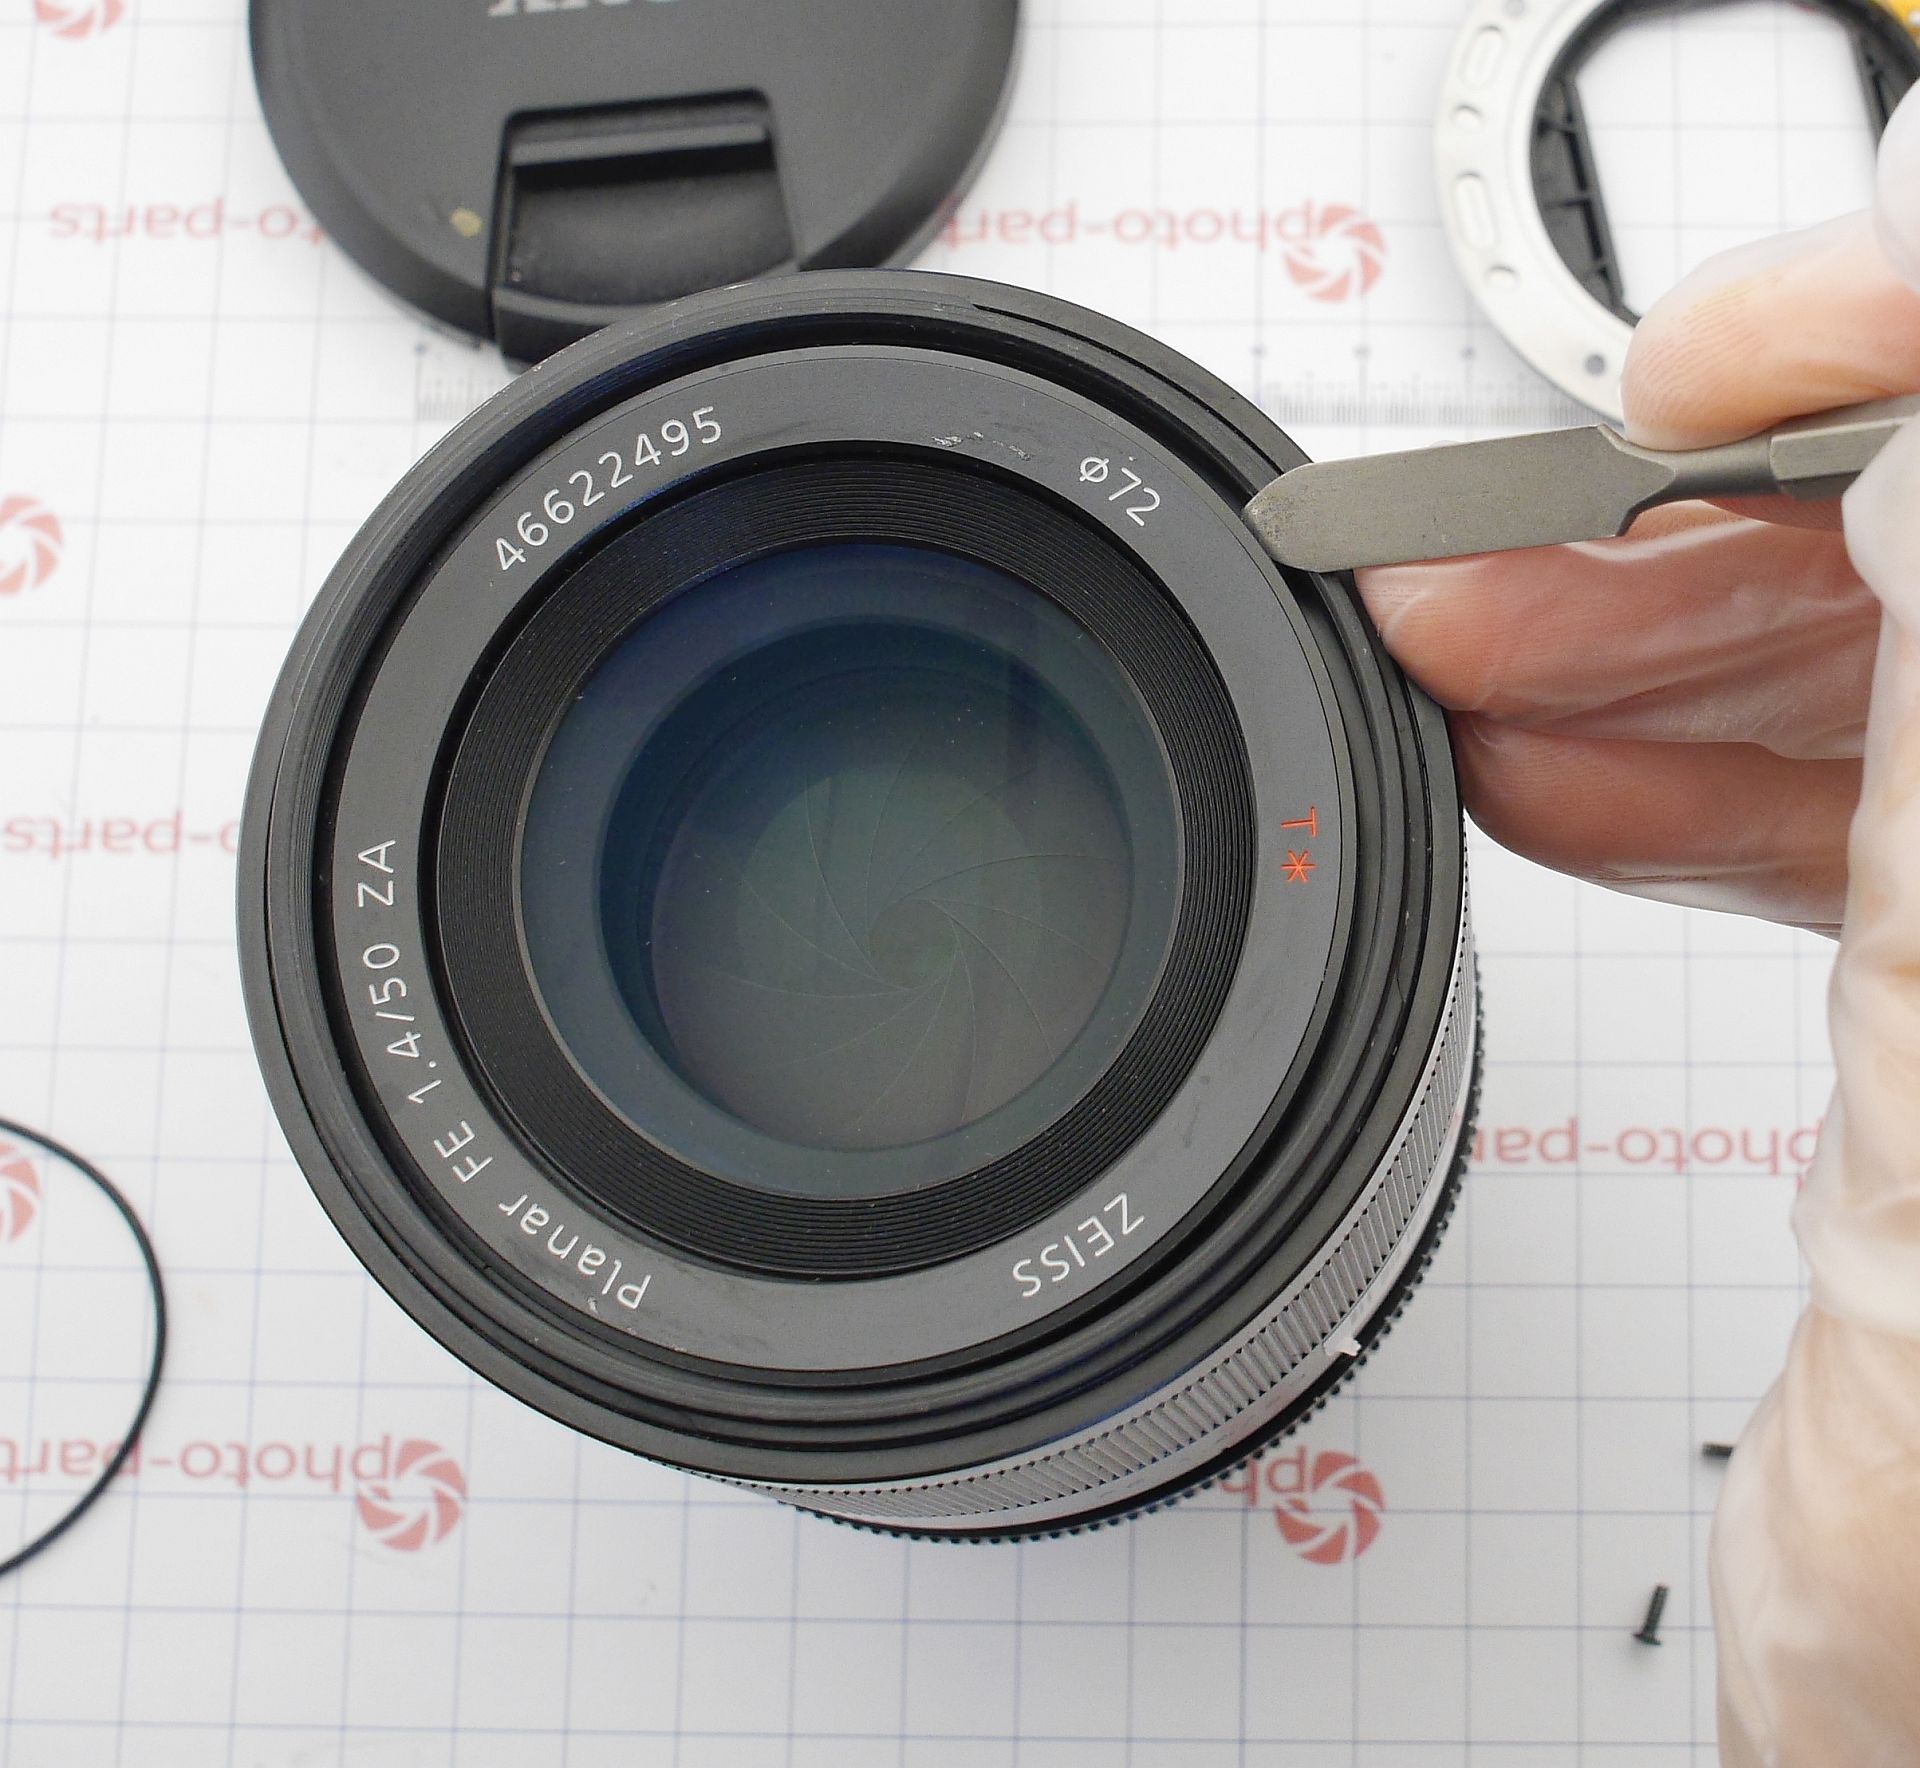
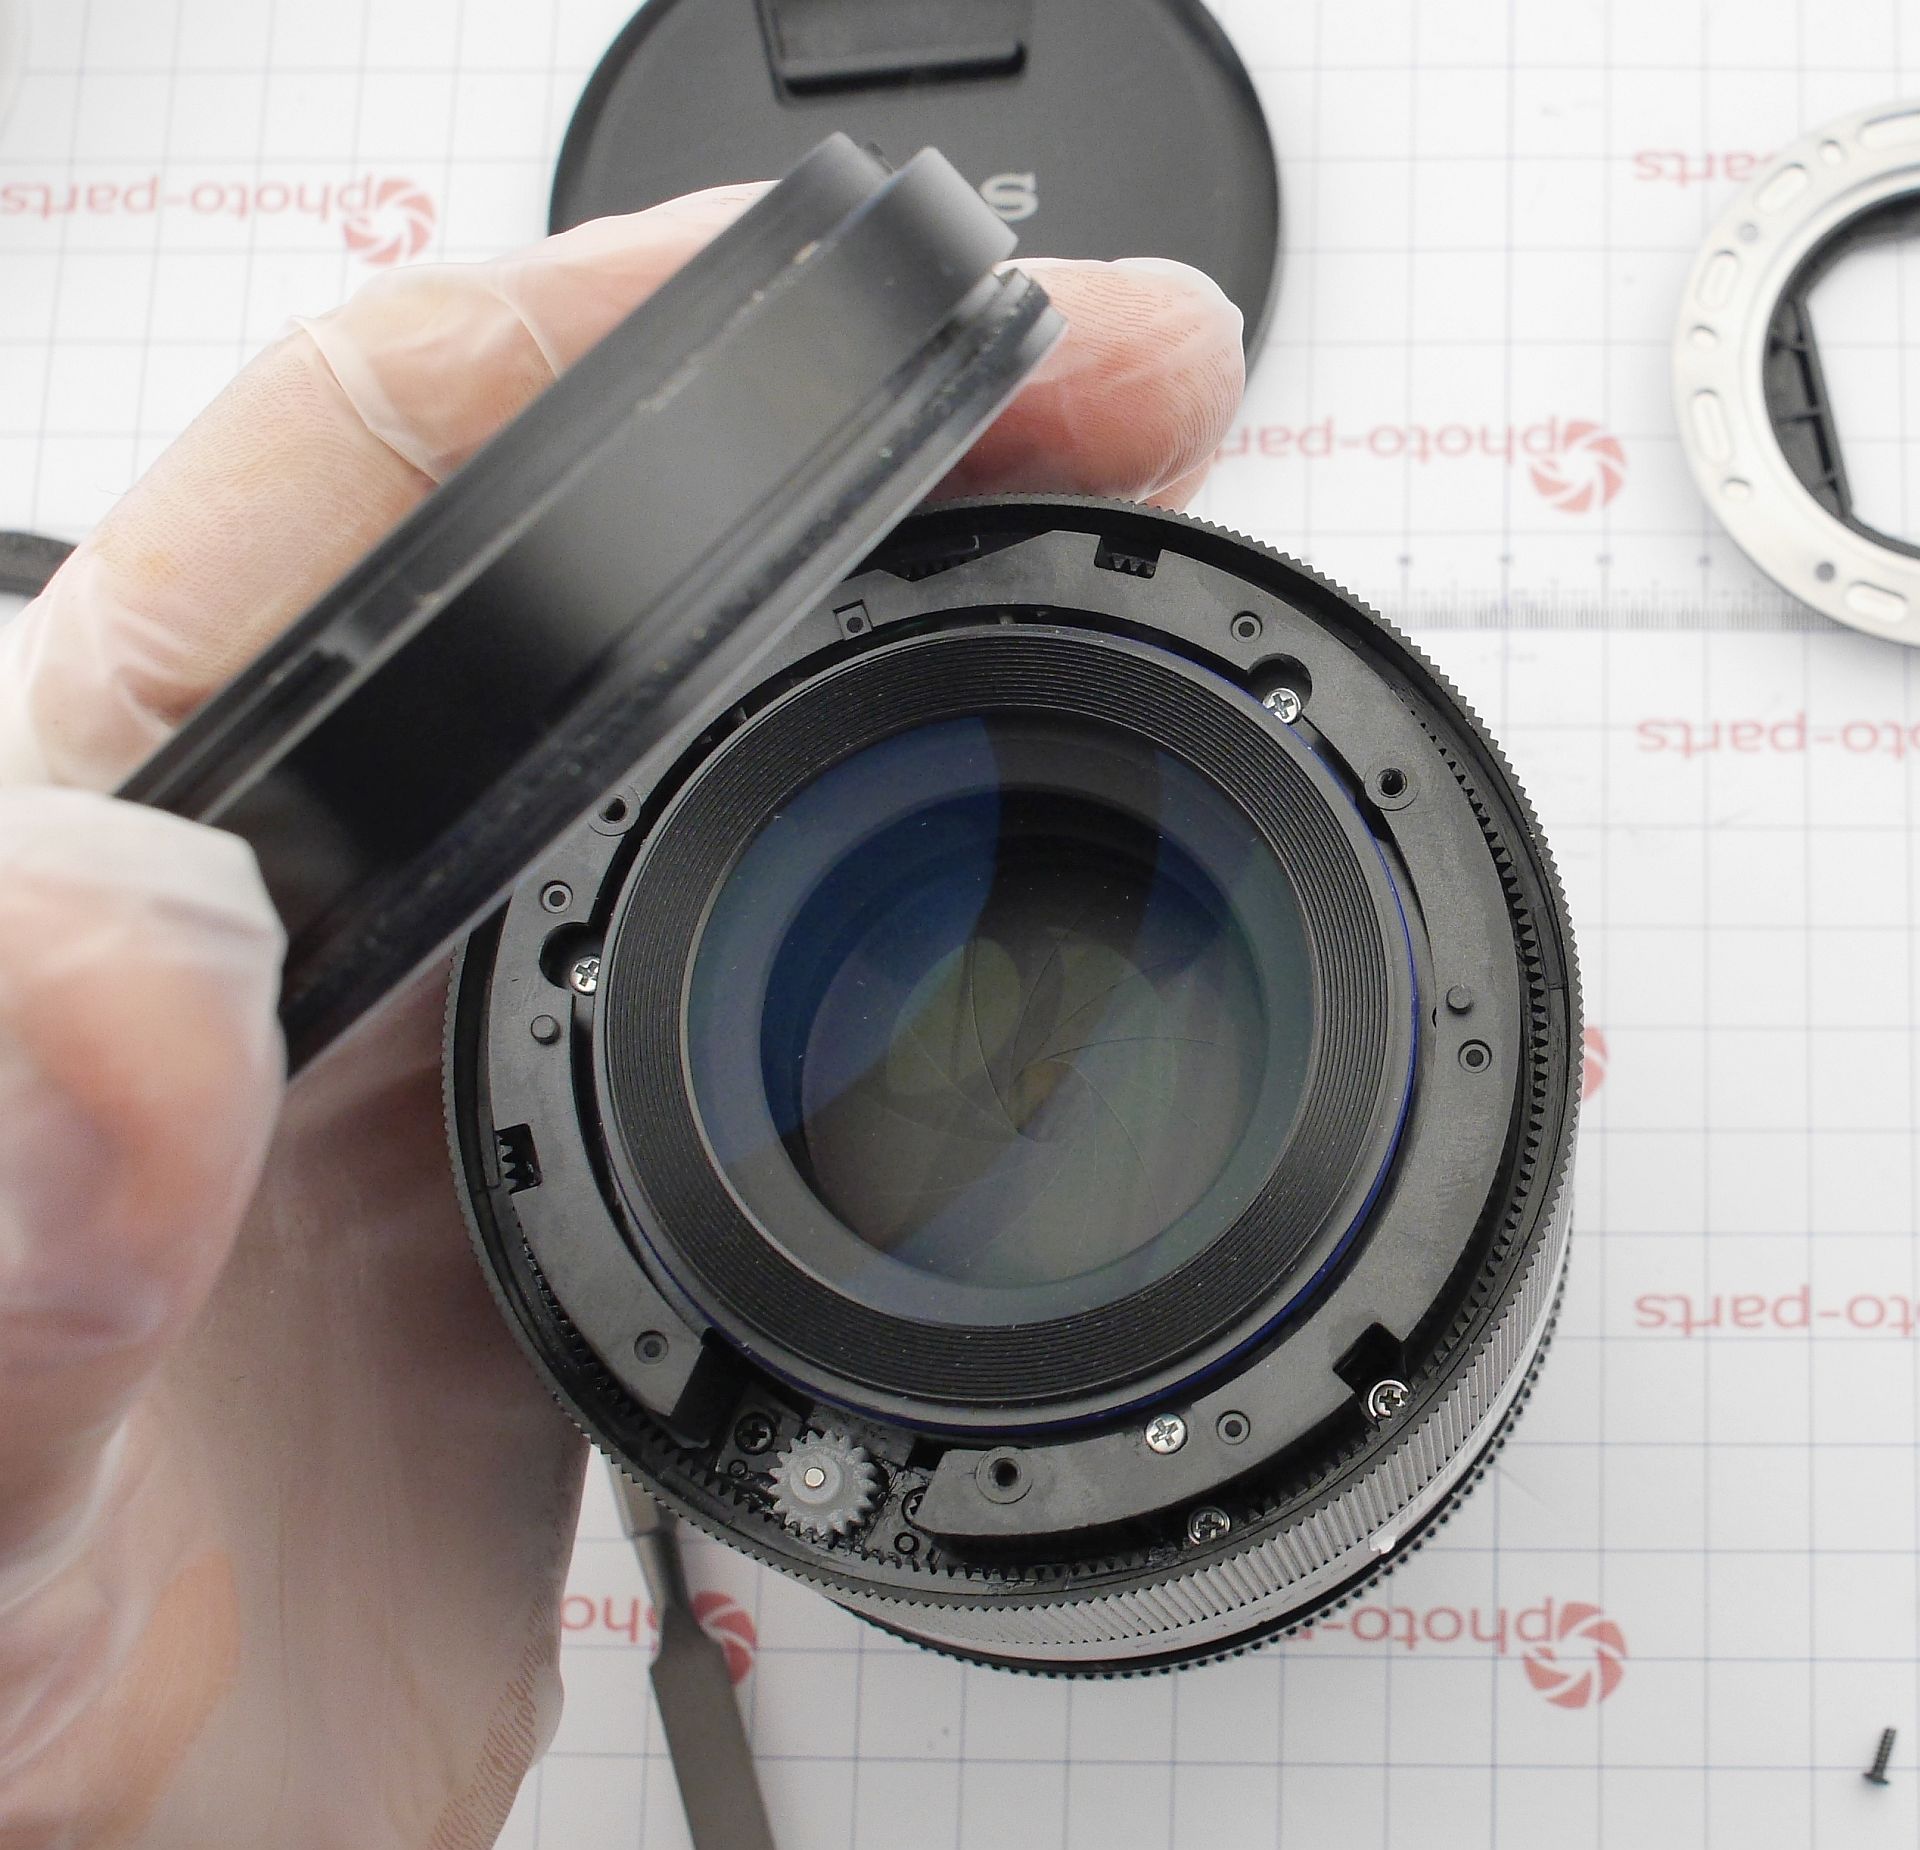
Like many Sony lenses, this one disassembles from both the front element and the mount side.
After removing four bayonet screws, shift the mount slightly to access the contact flex connector - unclip the latch and set the mount aside.
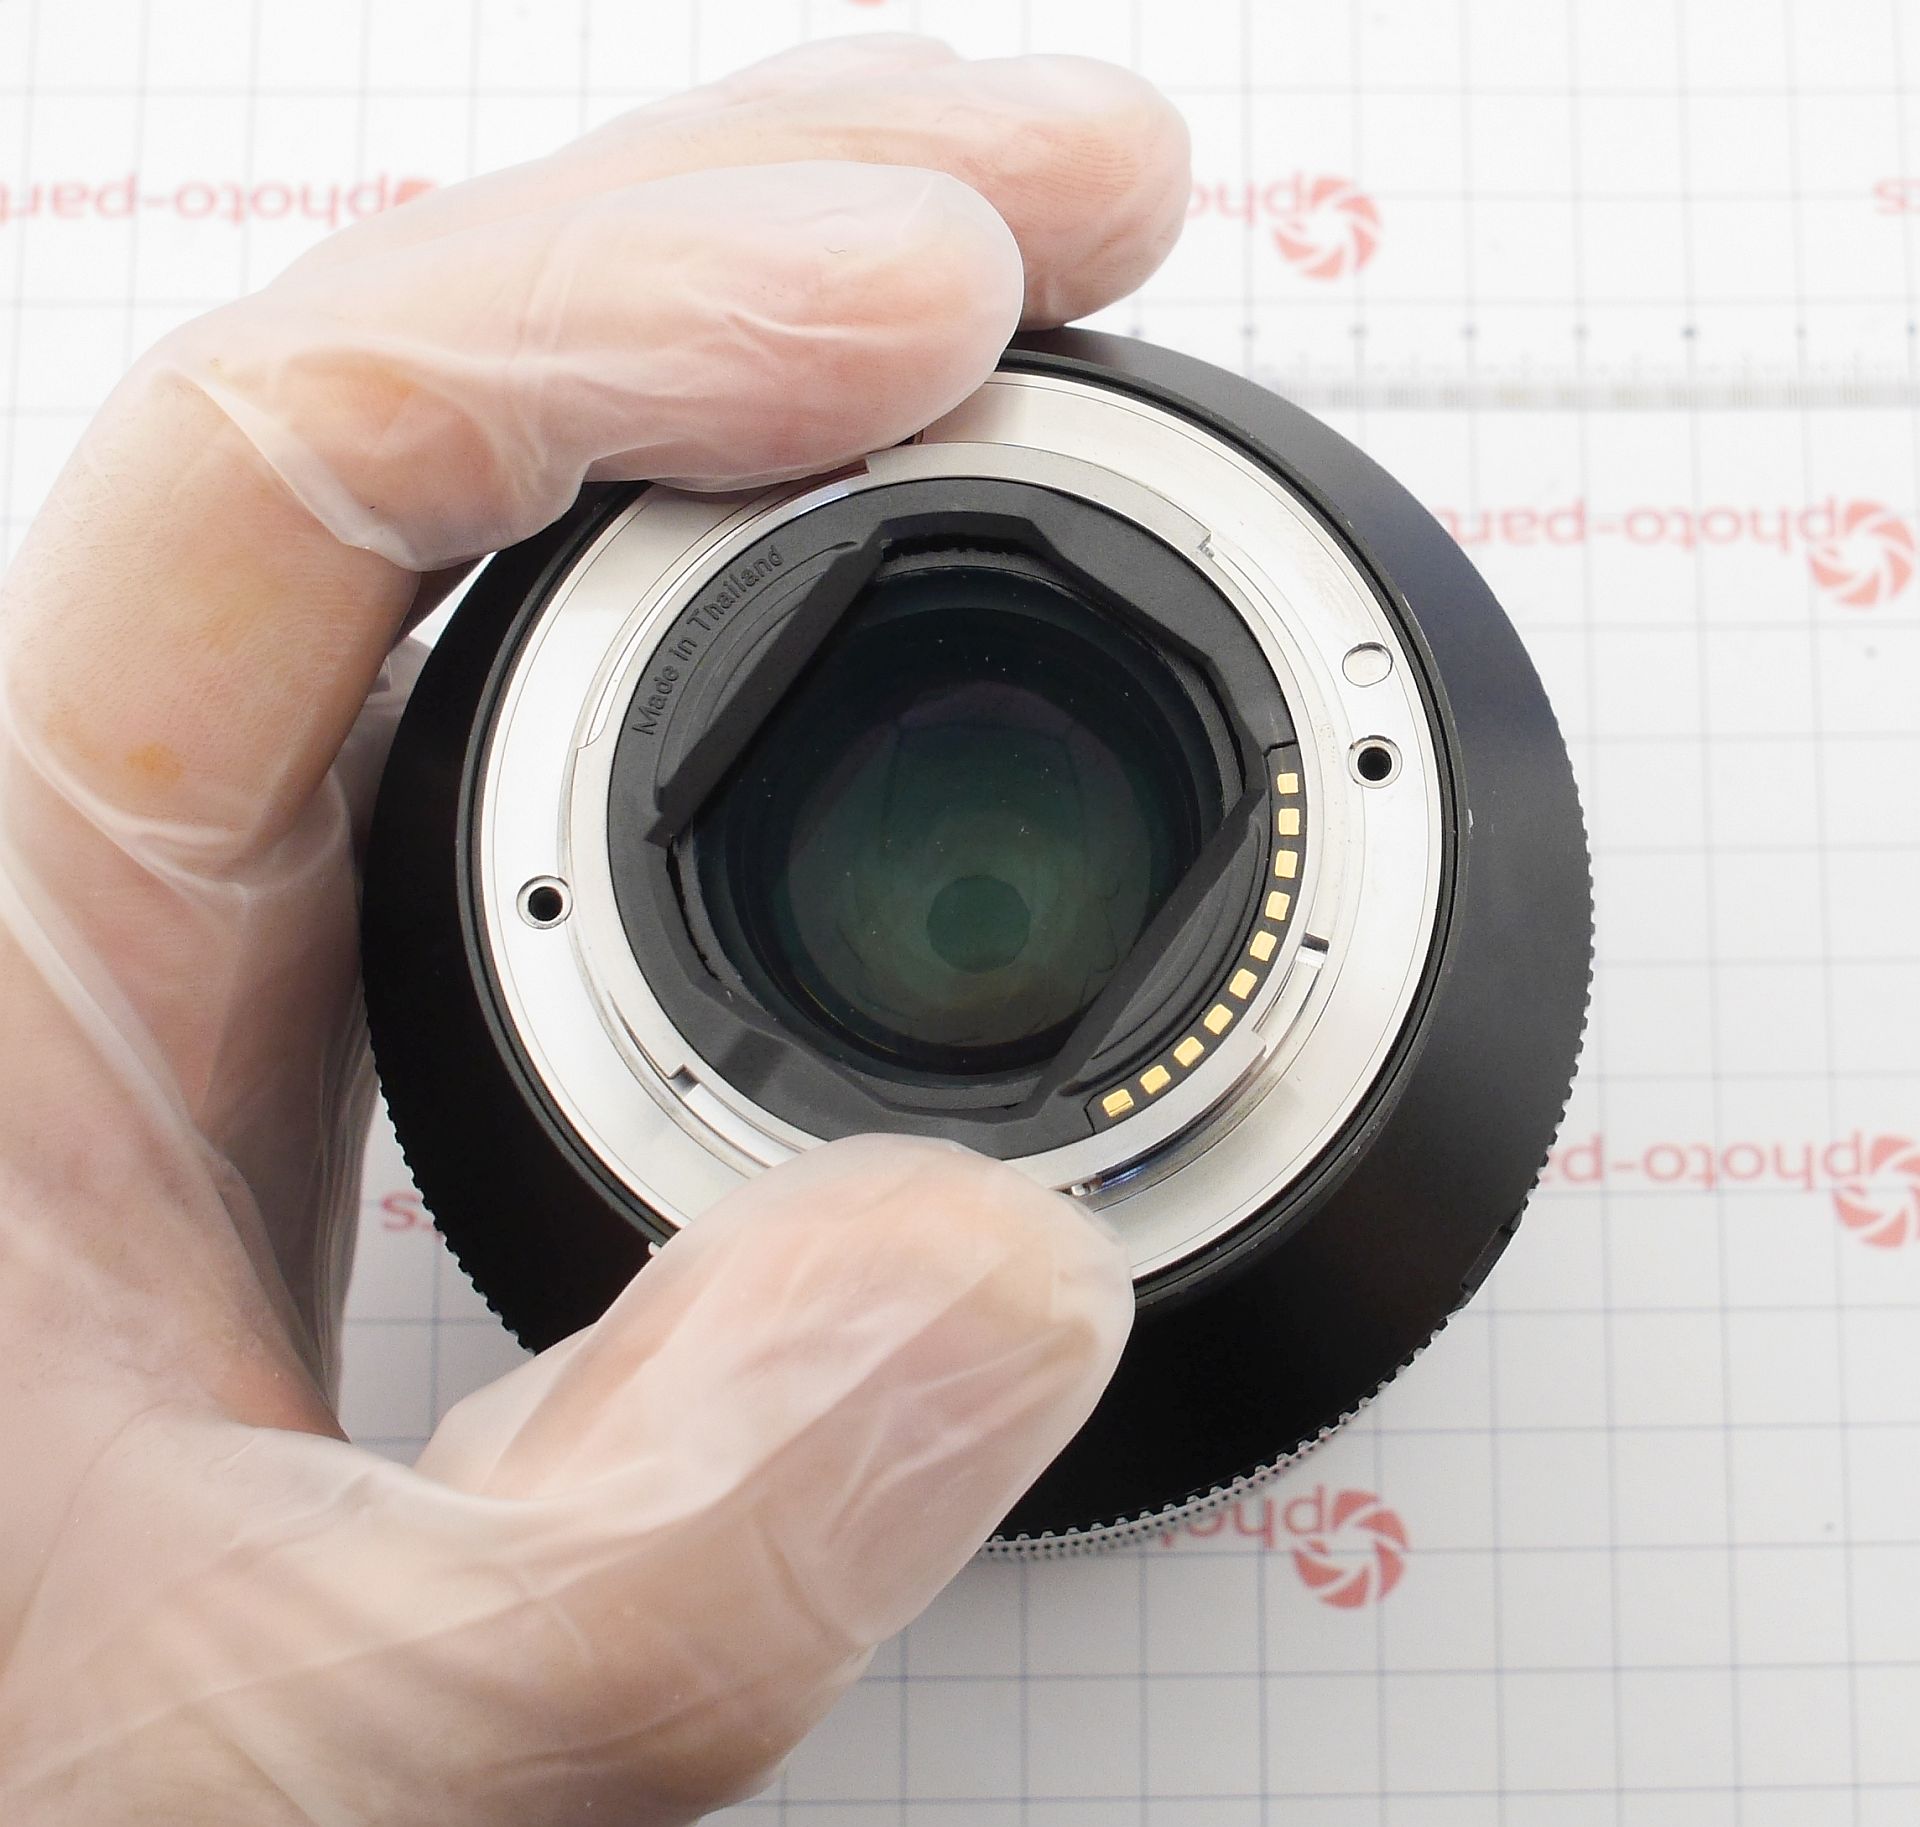
Unplug all flex cables from the main board and remove the board itself.
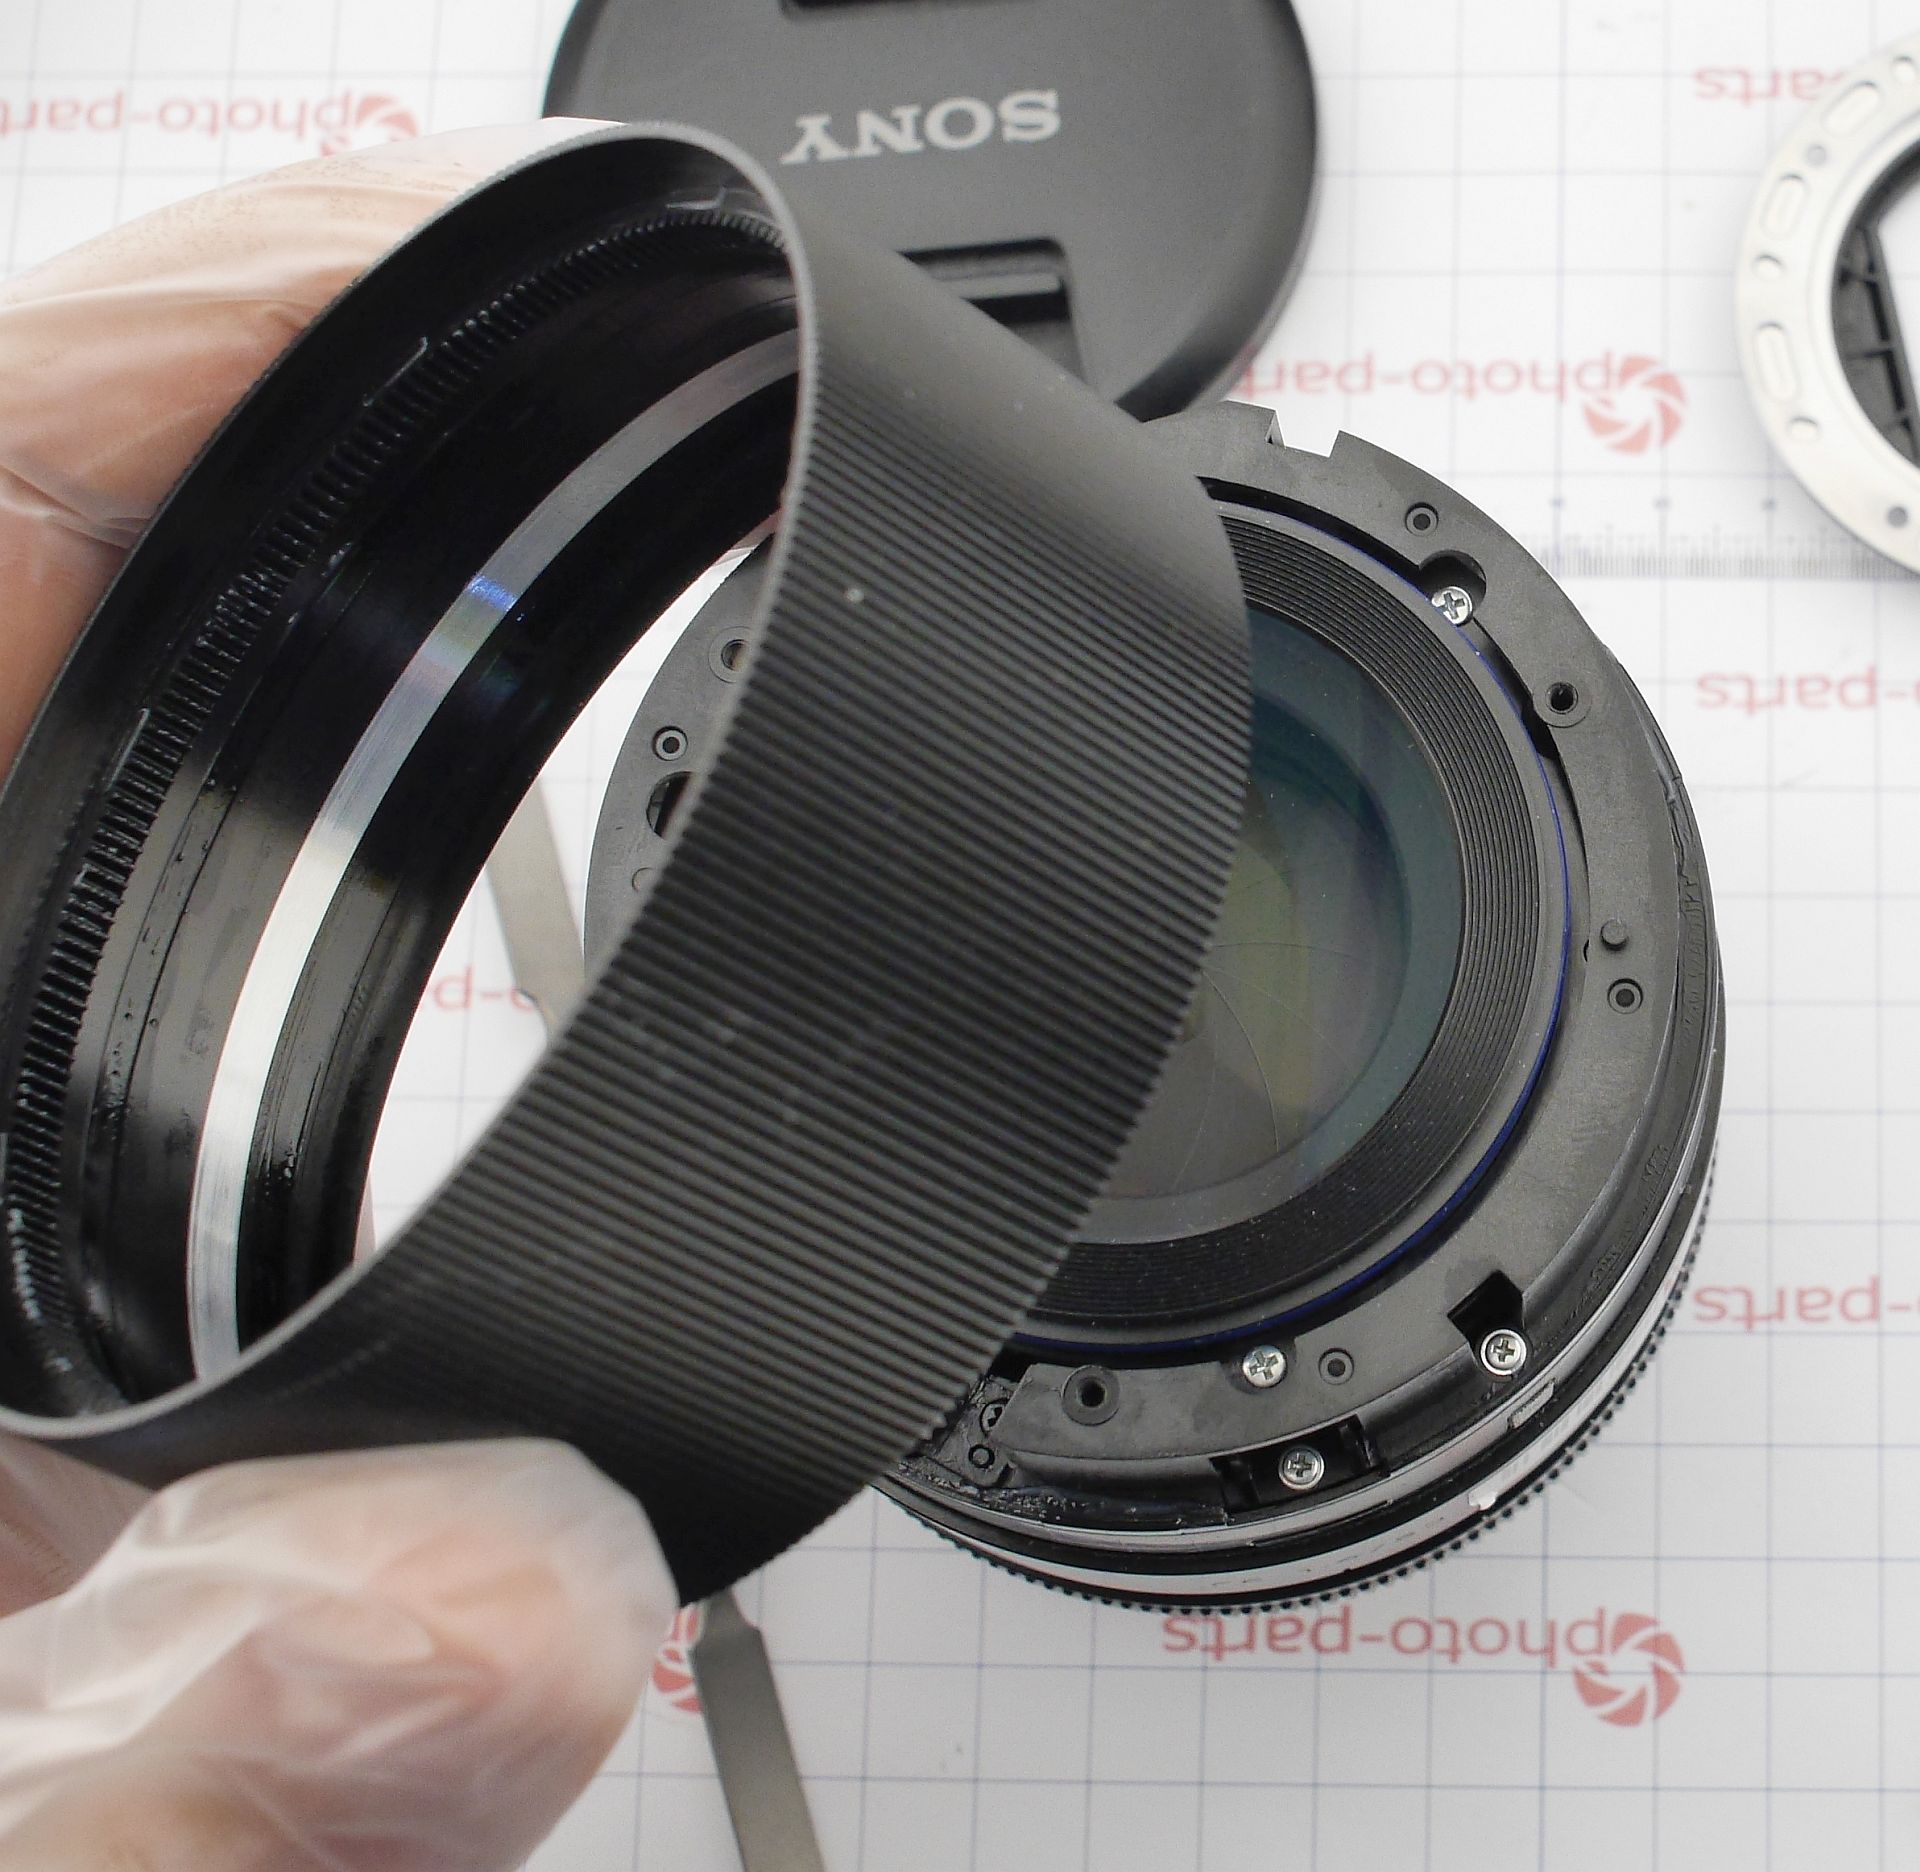
 Then unscrew four more screws to remove the outer barrel. It comes off easily, but be careful - the tiny "click/smooth" detent ball for the aperture ring falls out immediately.
Moving to the front:
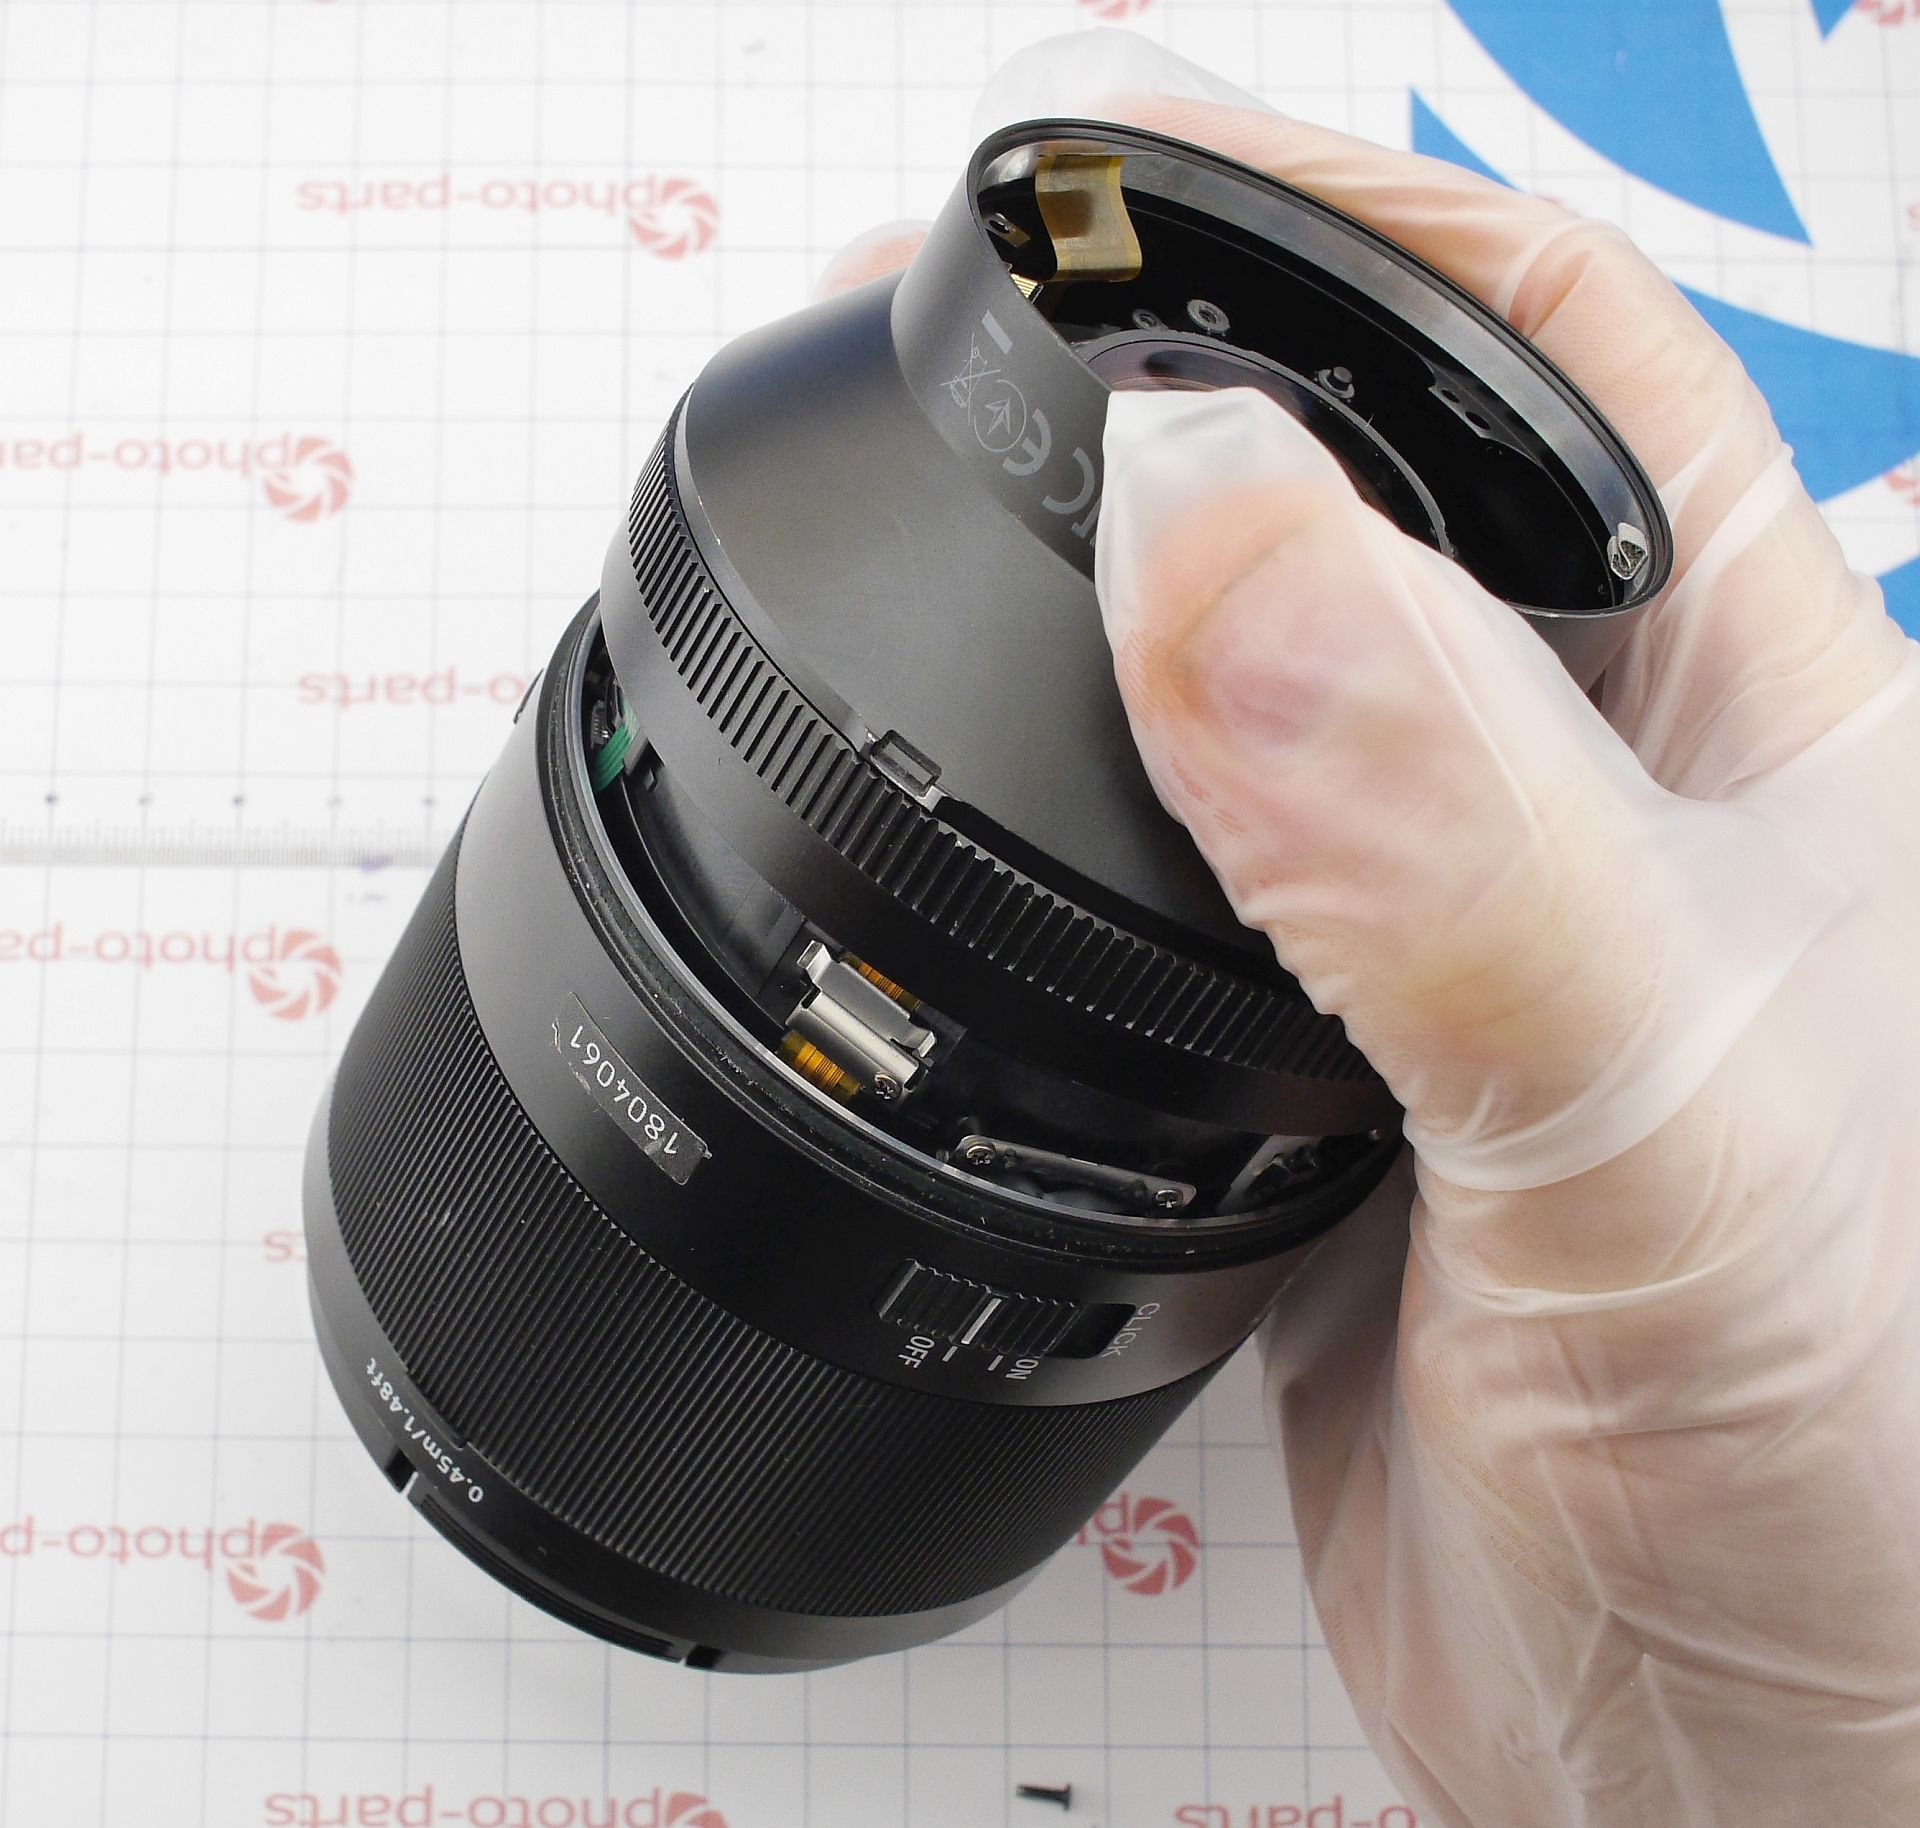
Unusually, the front decorative ring is held on with double-sided tape - easy enough to pry off with a spudger.
Under it are screws for the filter ring. Once the filter ring and manual focus ring are removed, you finally get access to the internals.
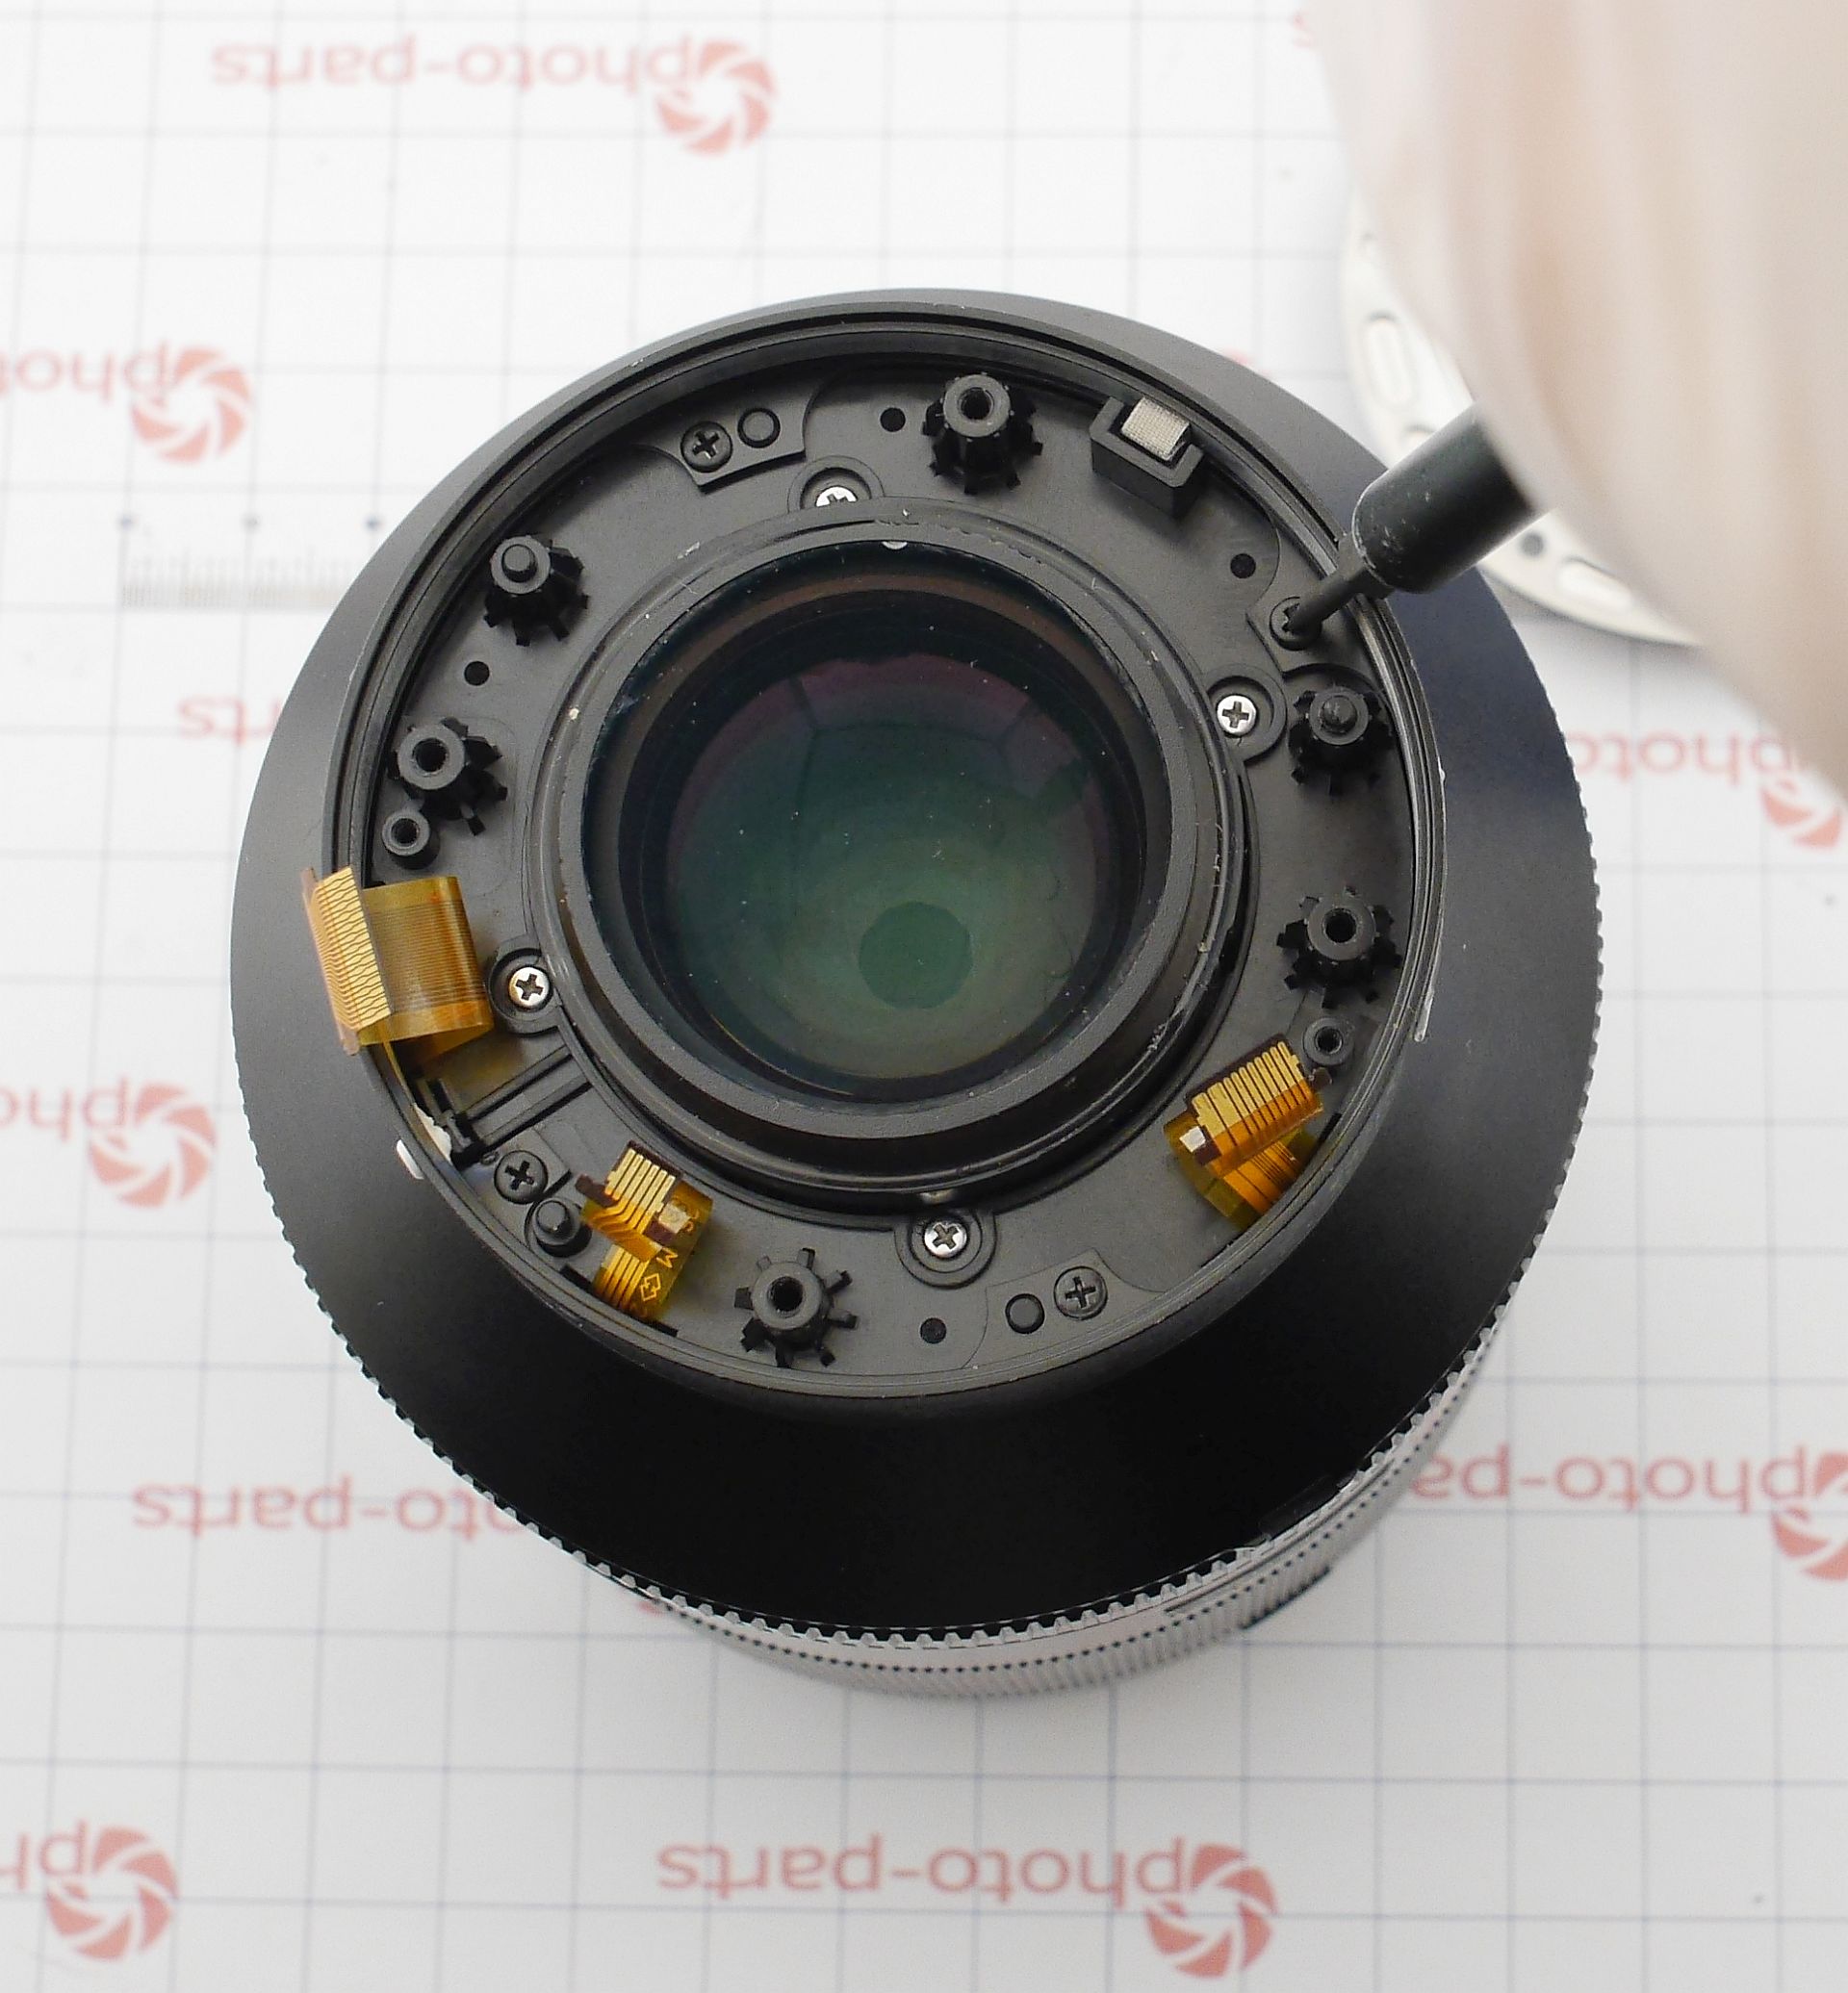
A protective bracket holds the motor driver board. The motor type is unclear at this point, but it's intriguing.
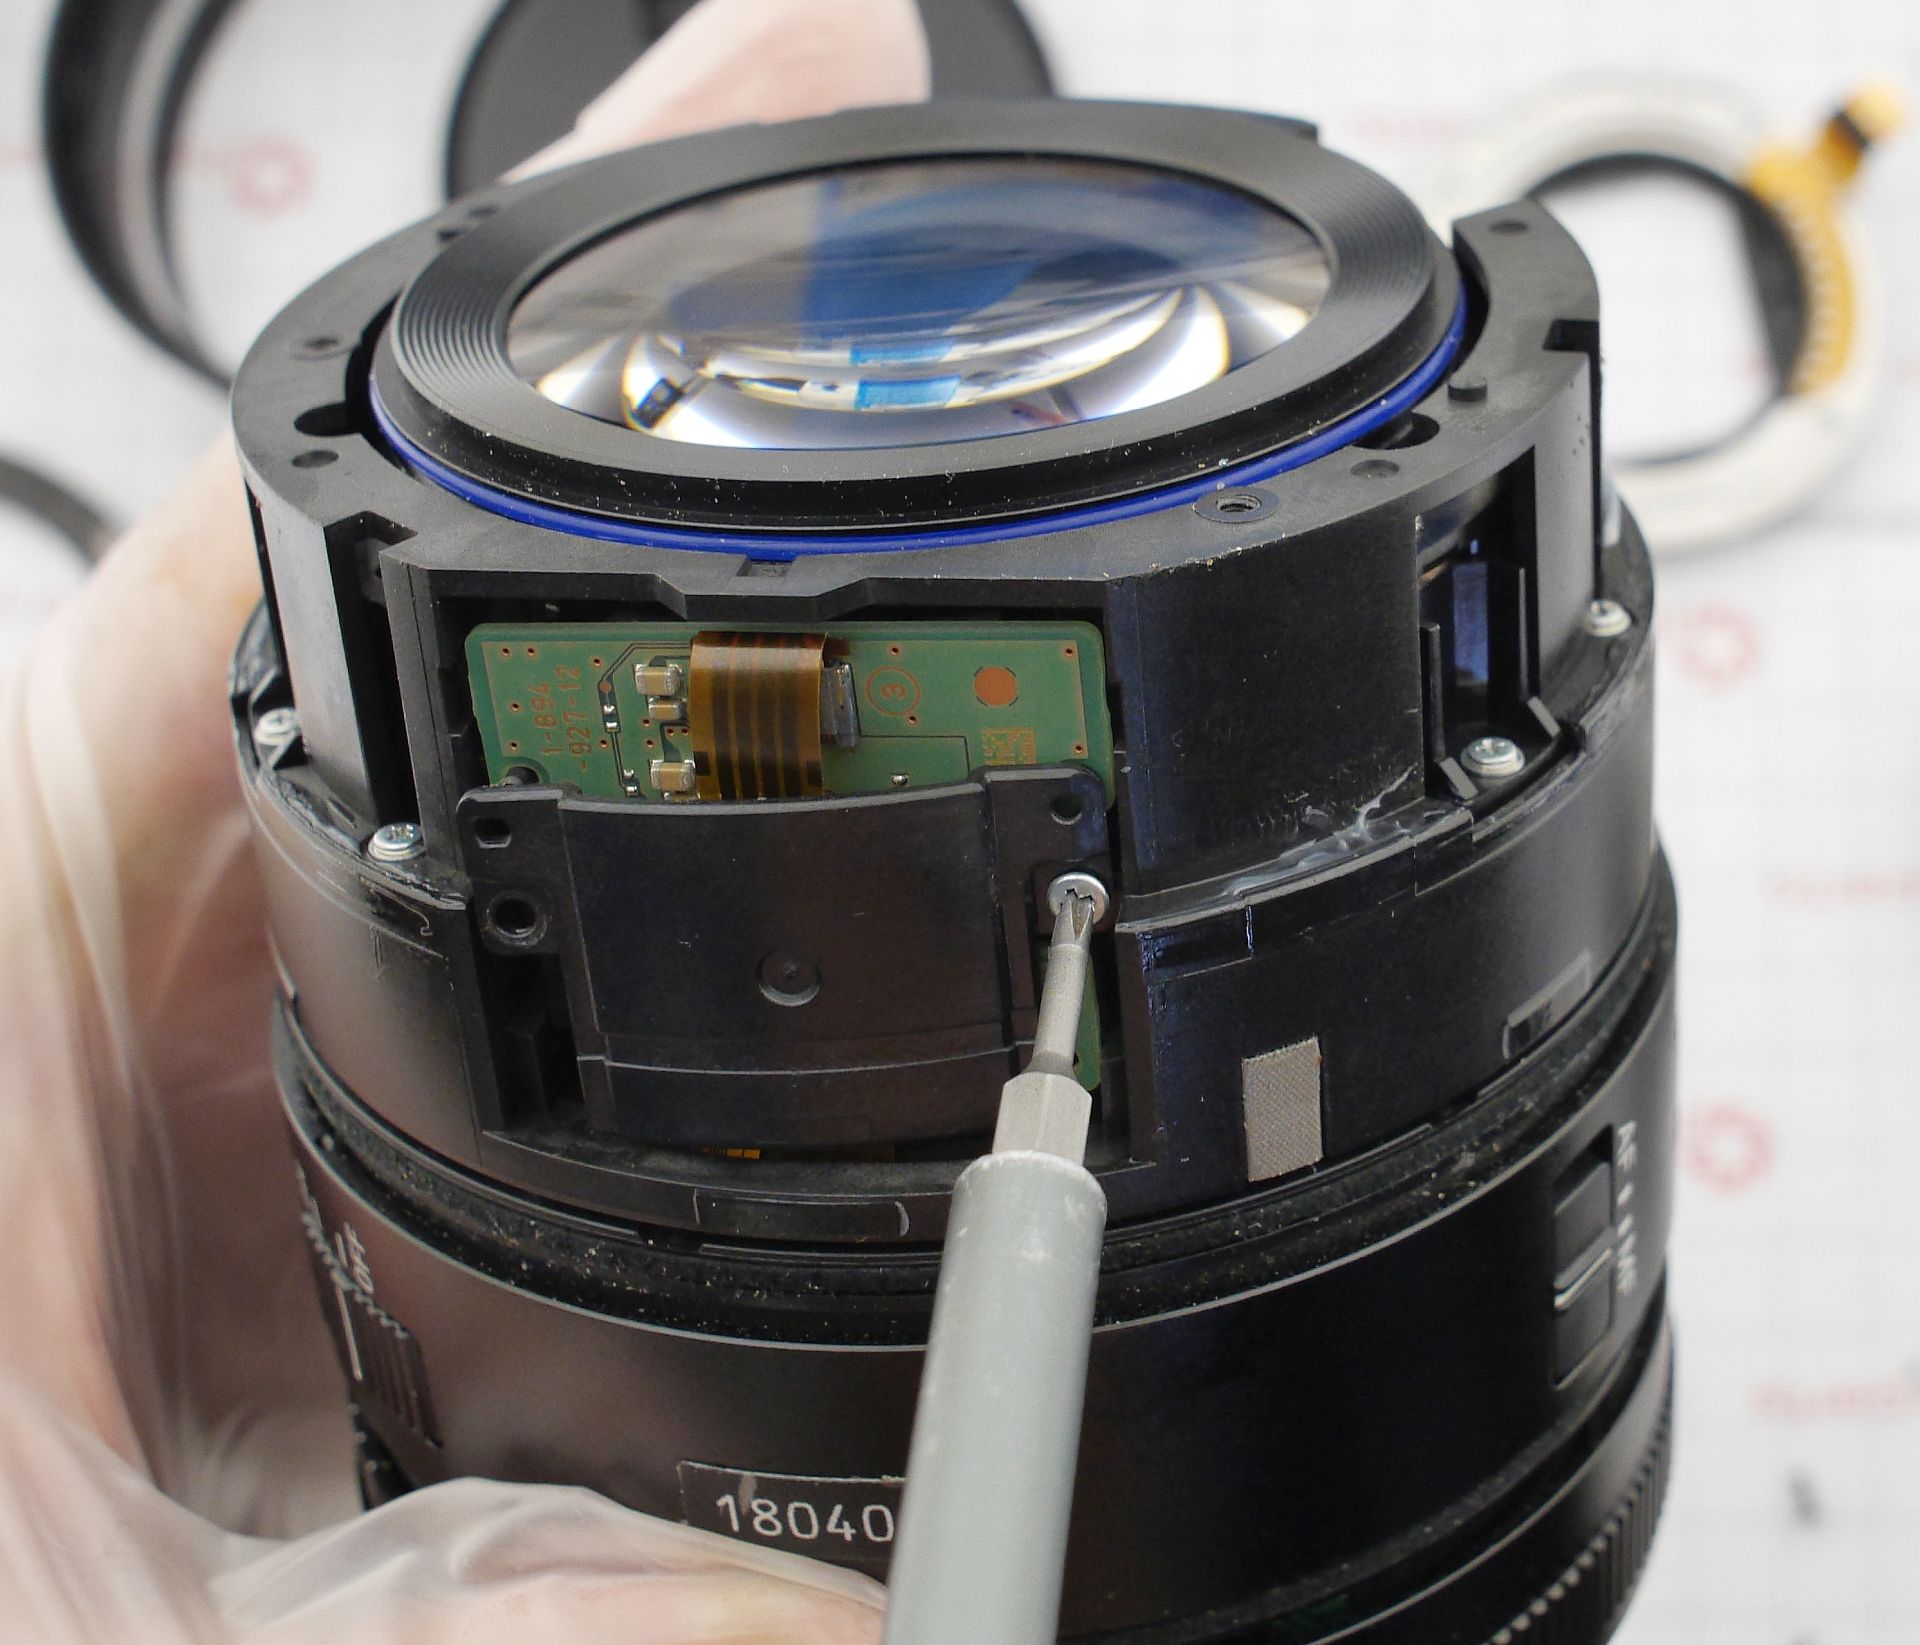
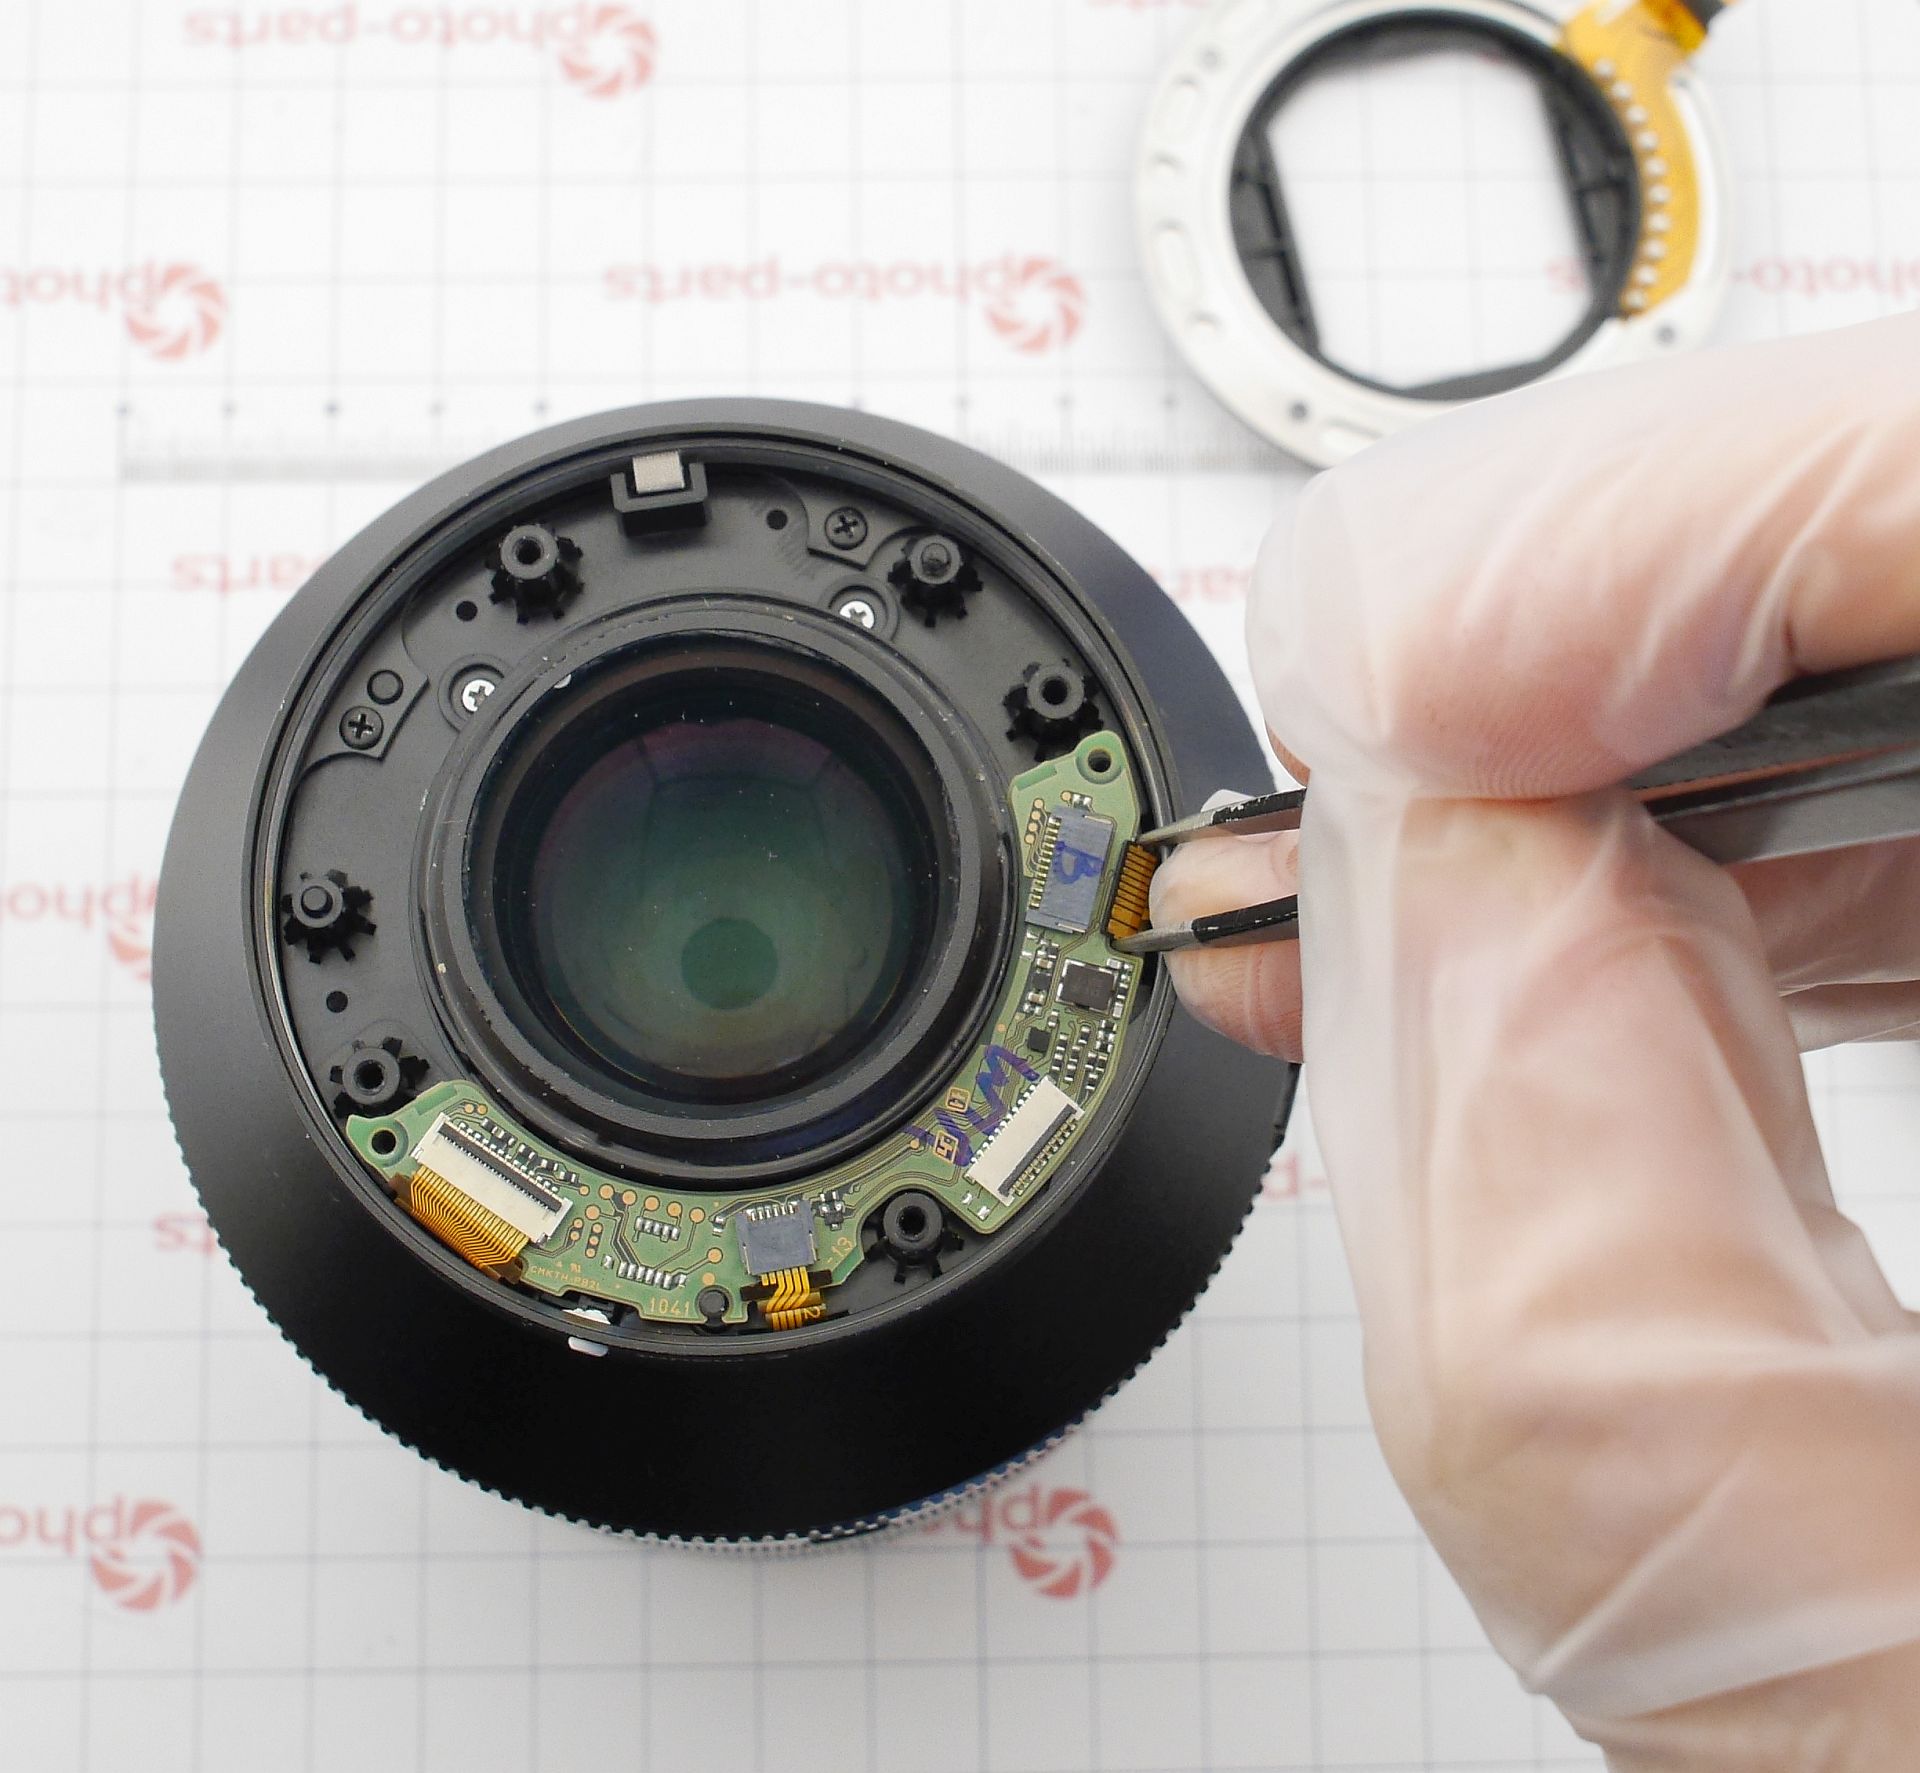
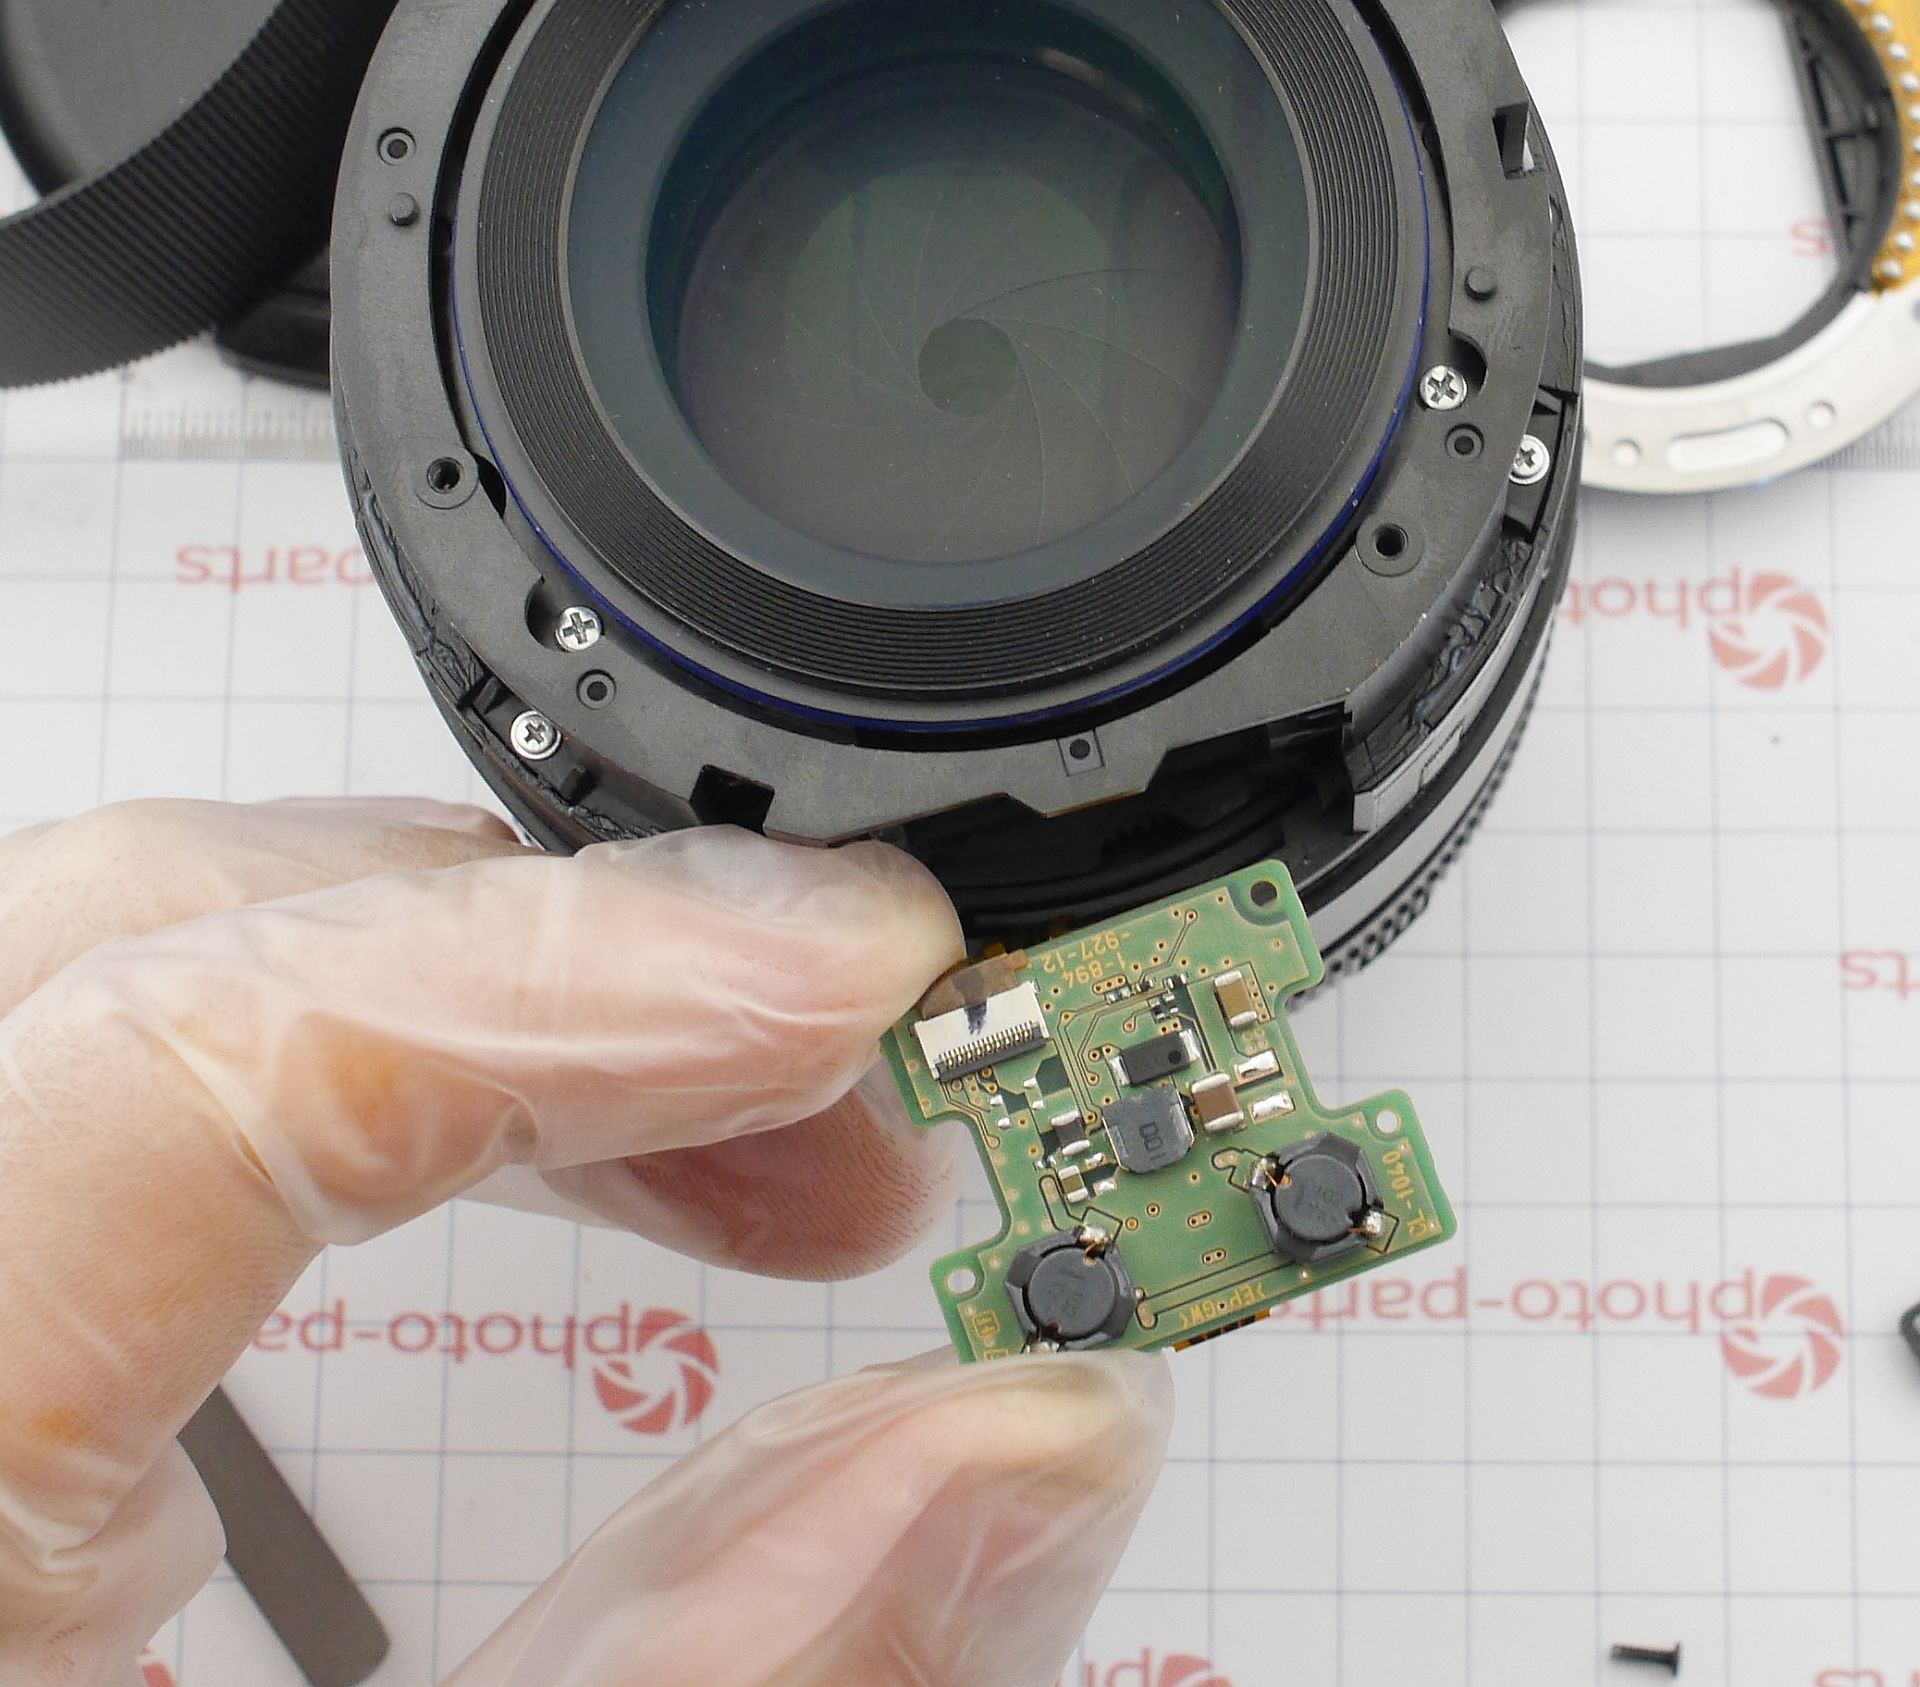 You can unplug the board and remove the upper housing screws.
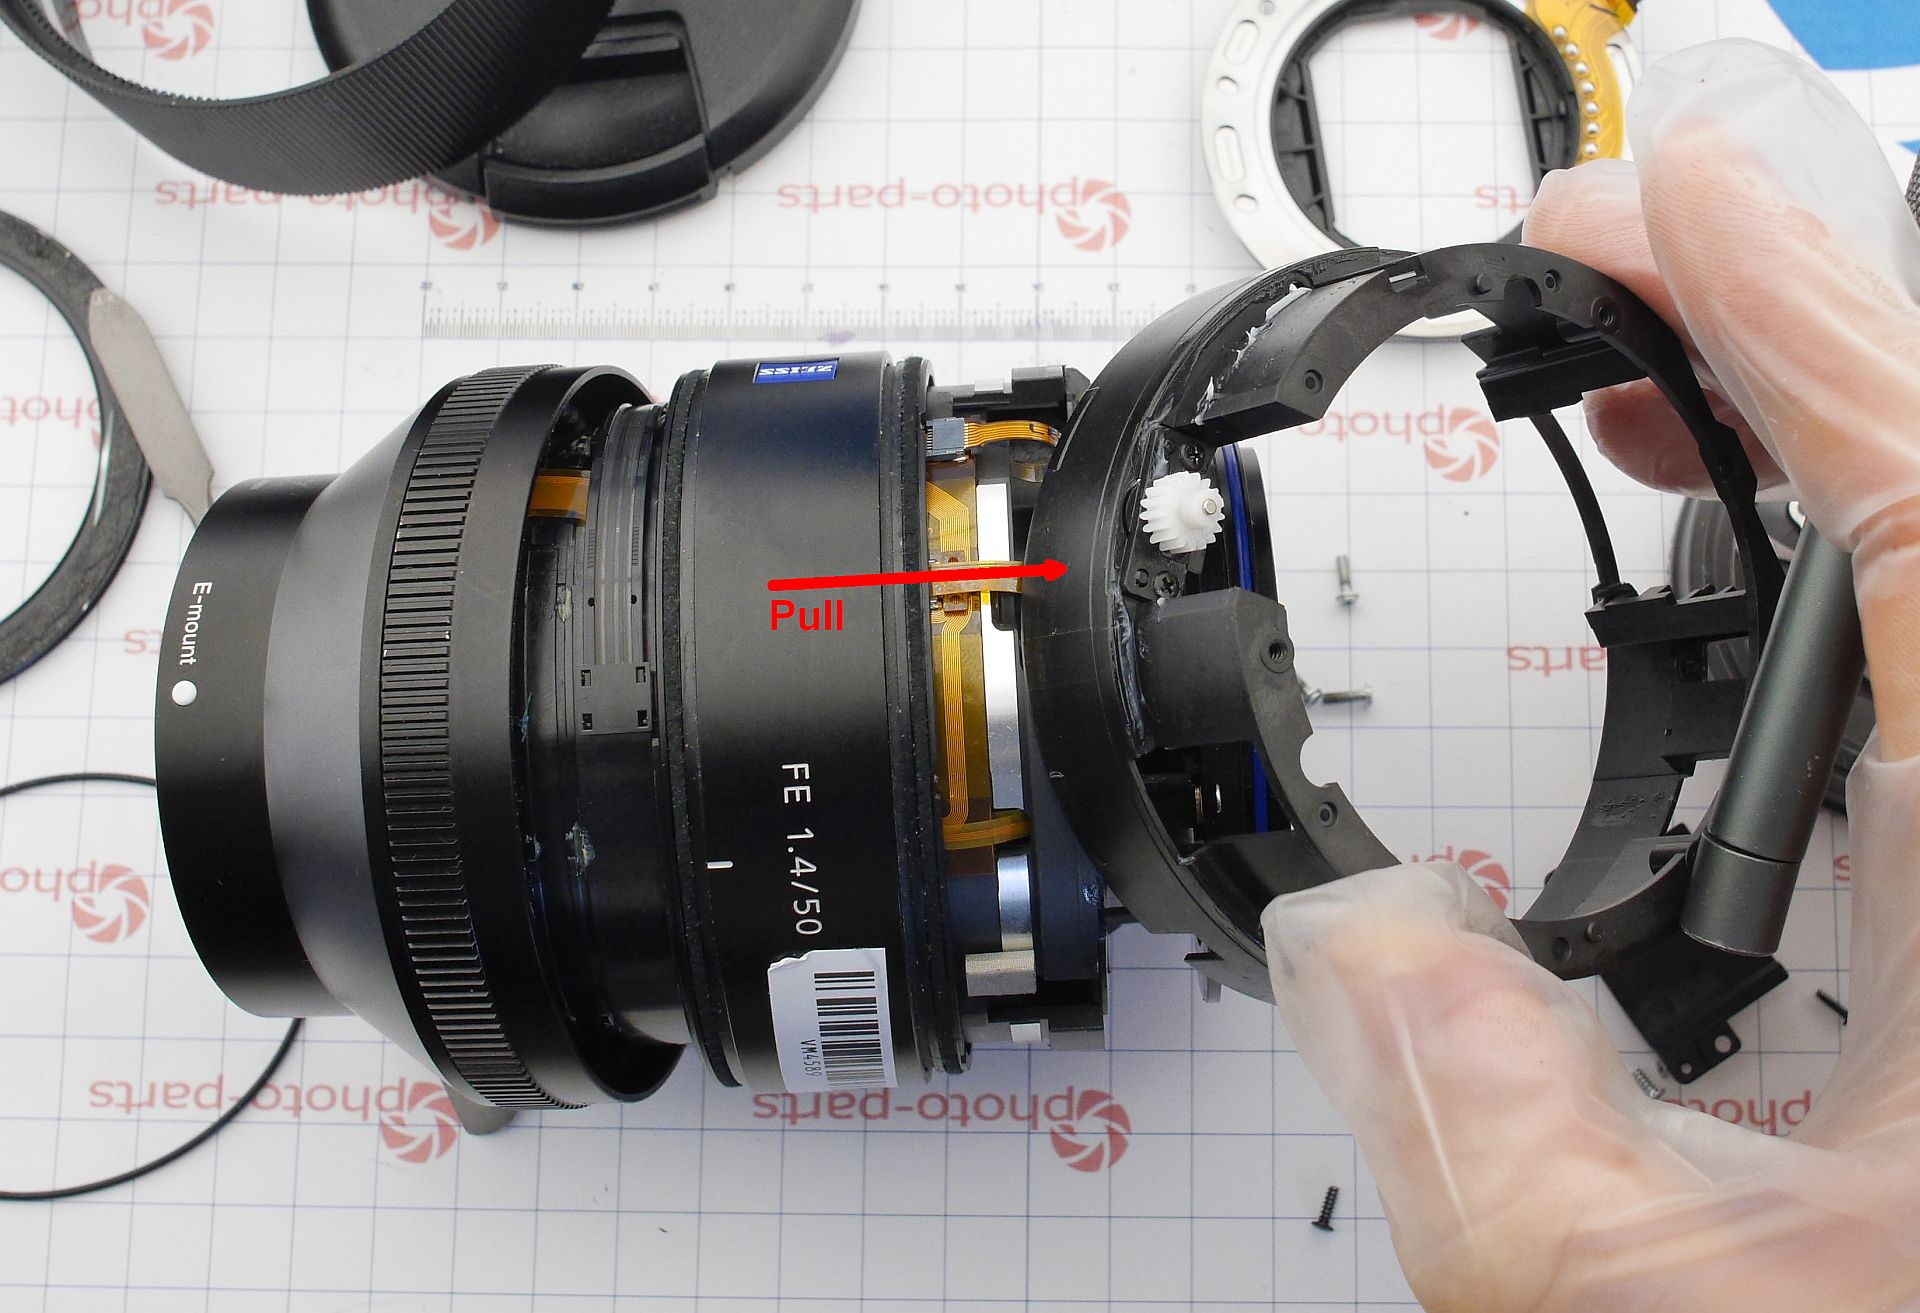
 Here, Sony engineers abandoned service-friendliness - the manual focus position sensor connector is hidden behind the housing. But you can gently pull the flex out; there's no latch, and nothing will tear.
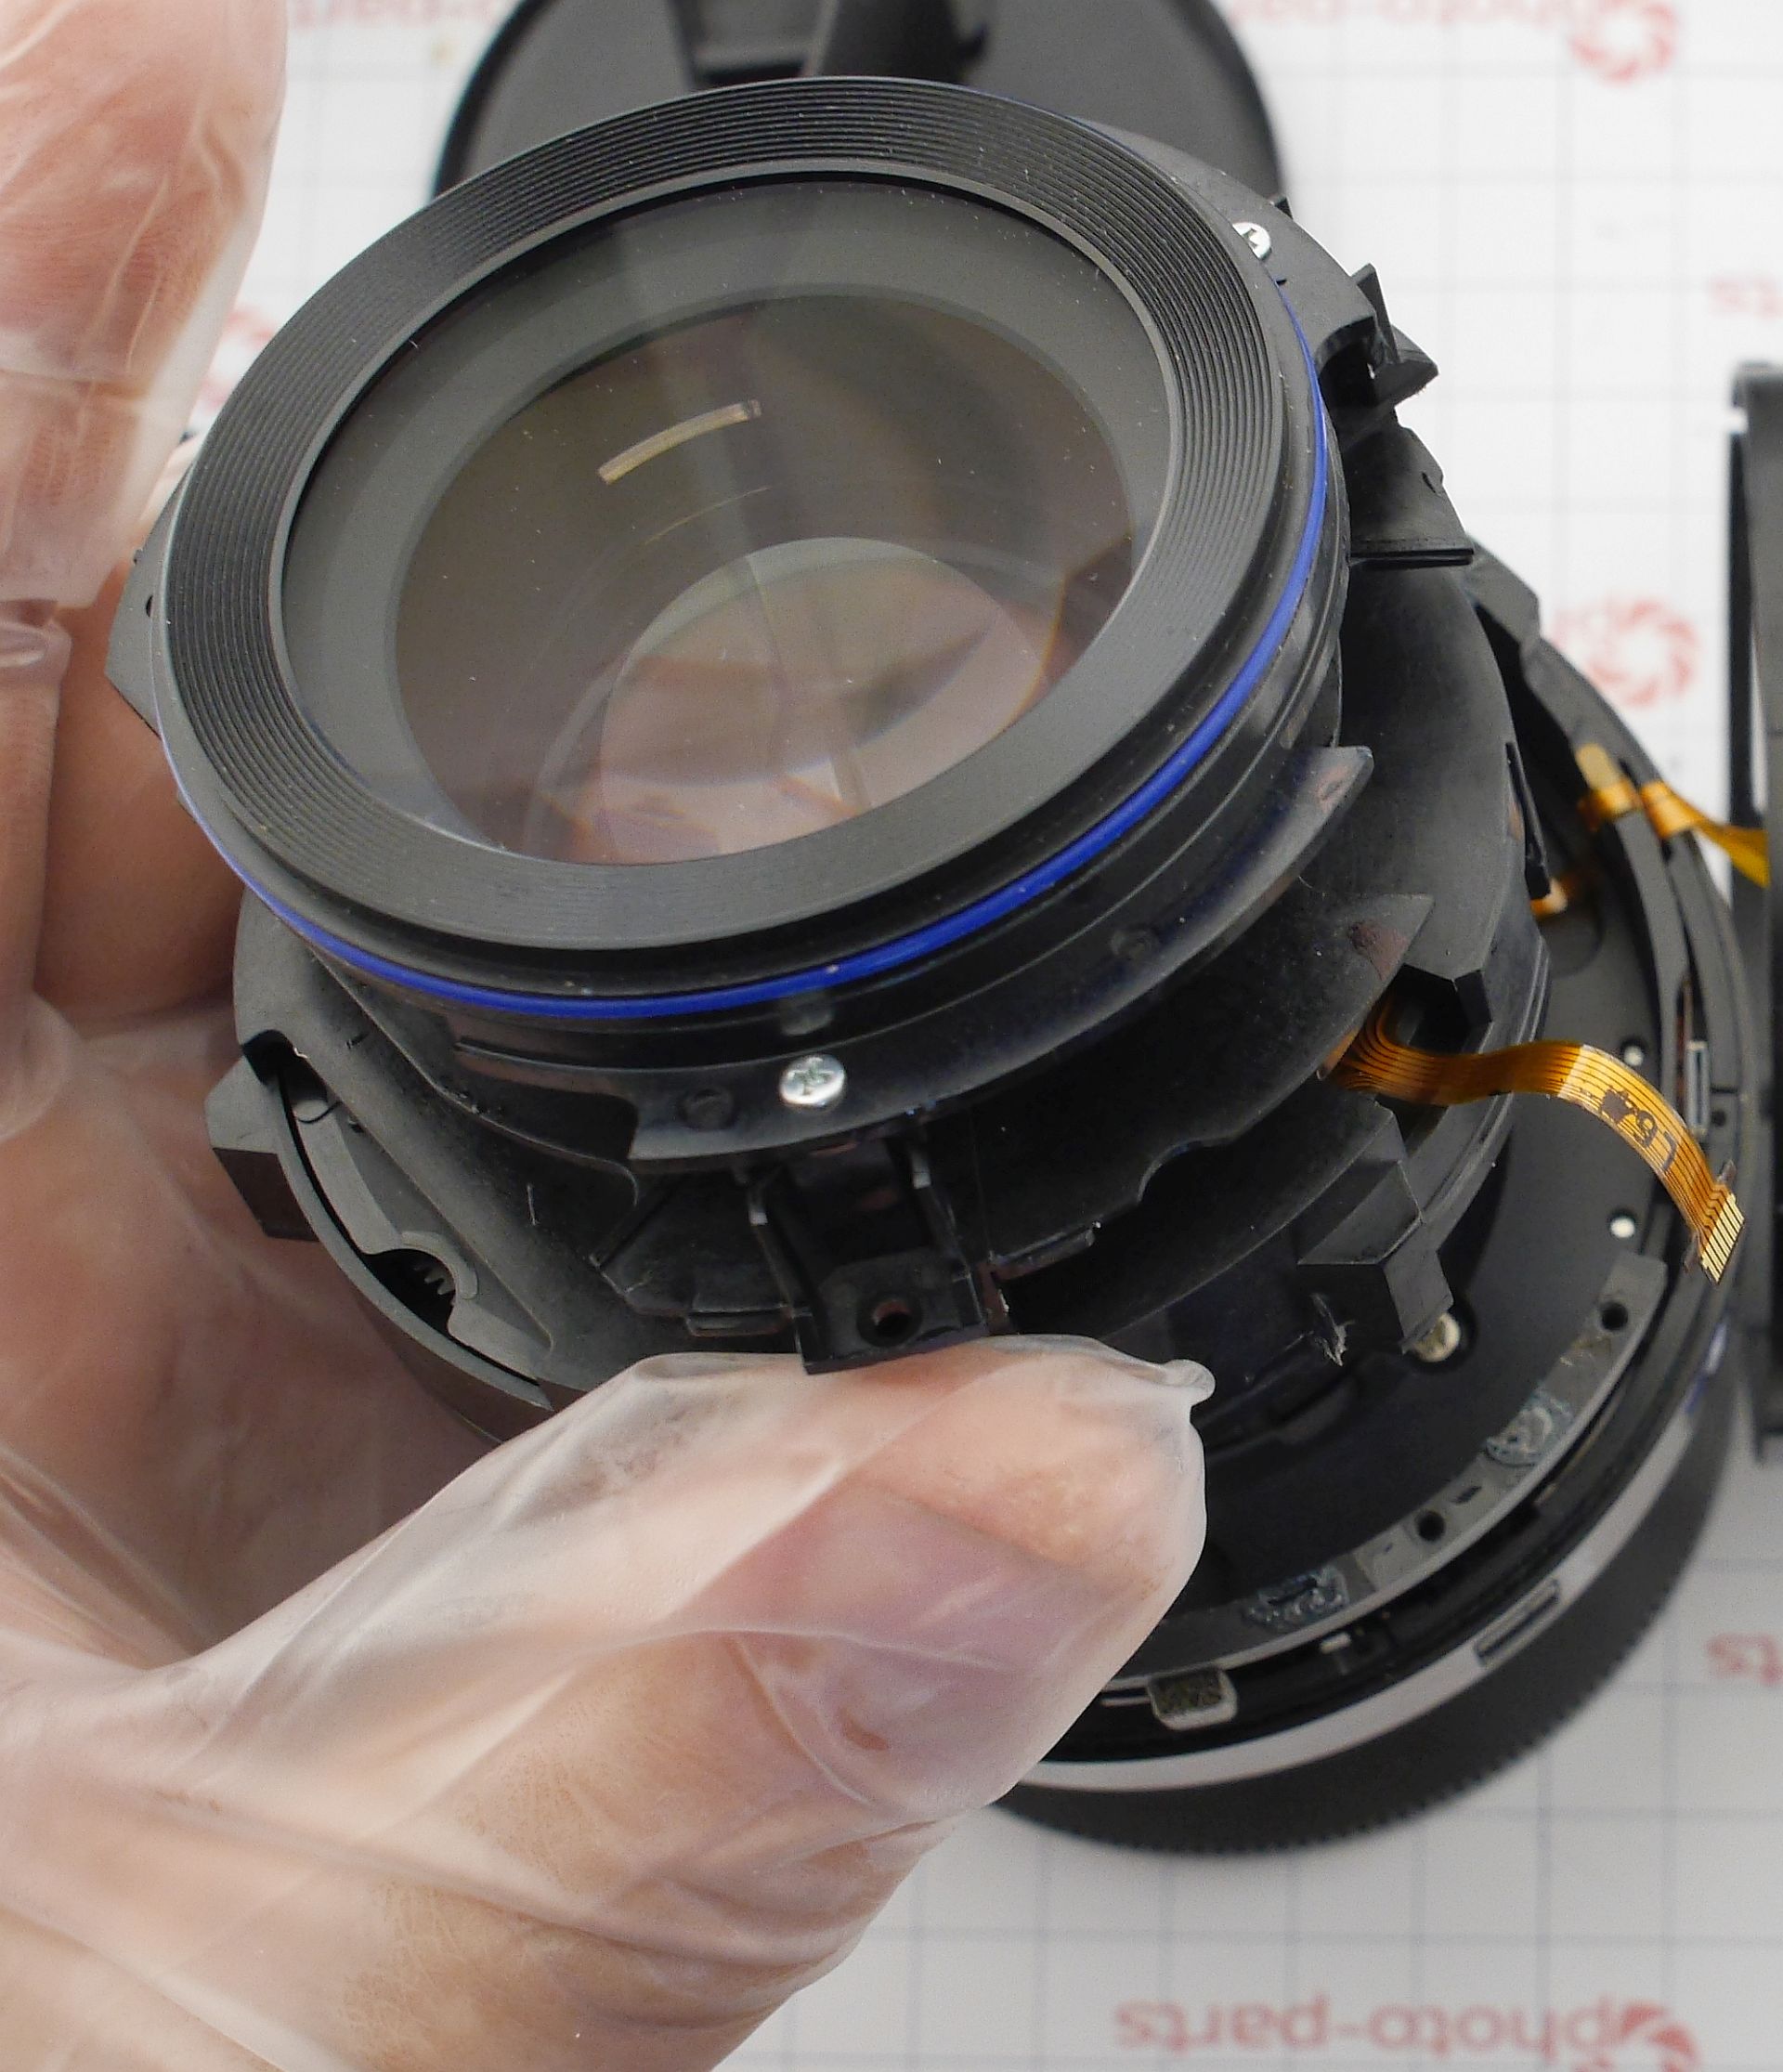
 The front lens is now just becoming visible.
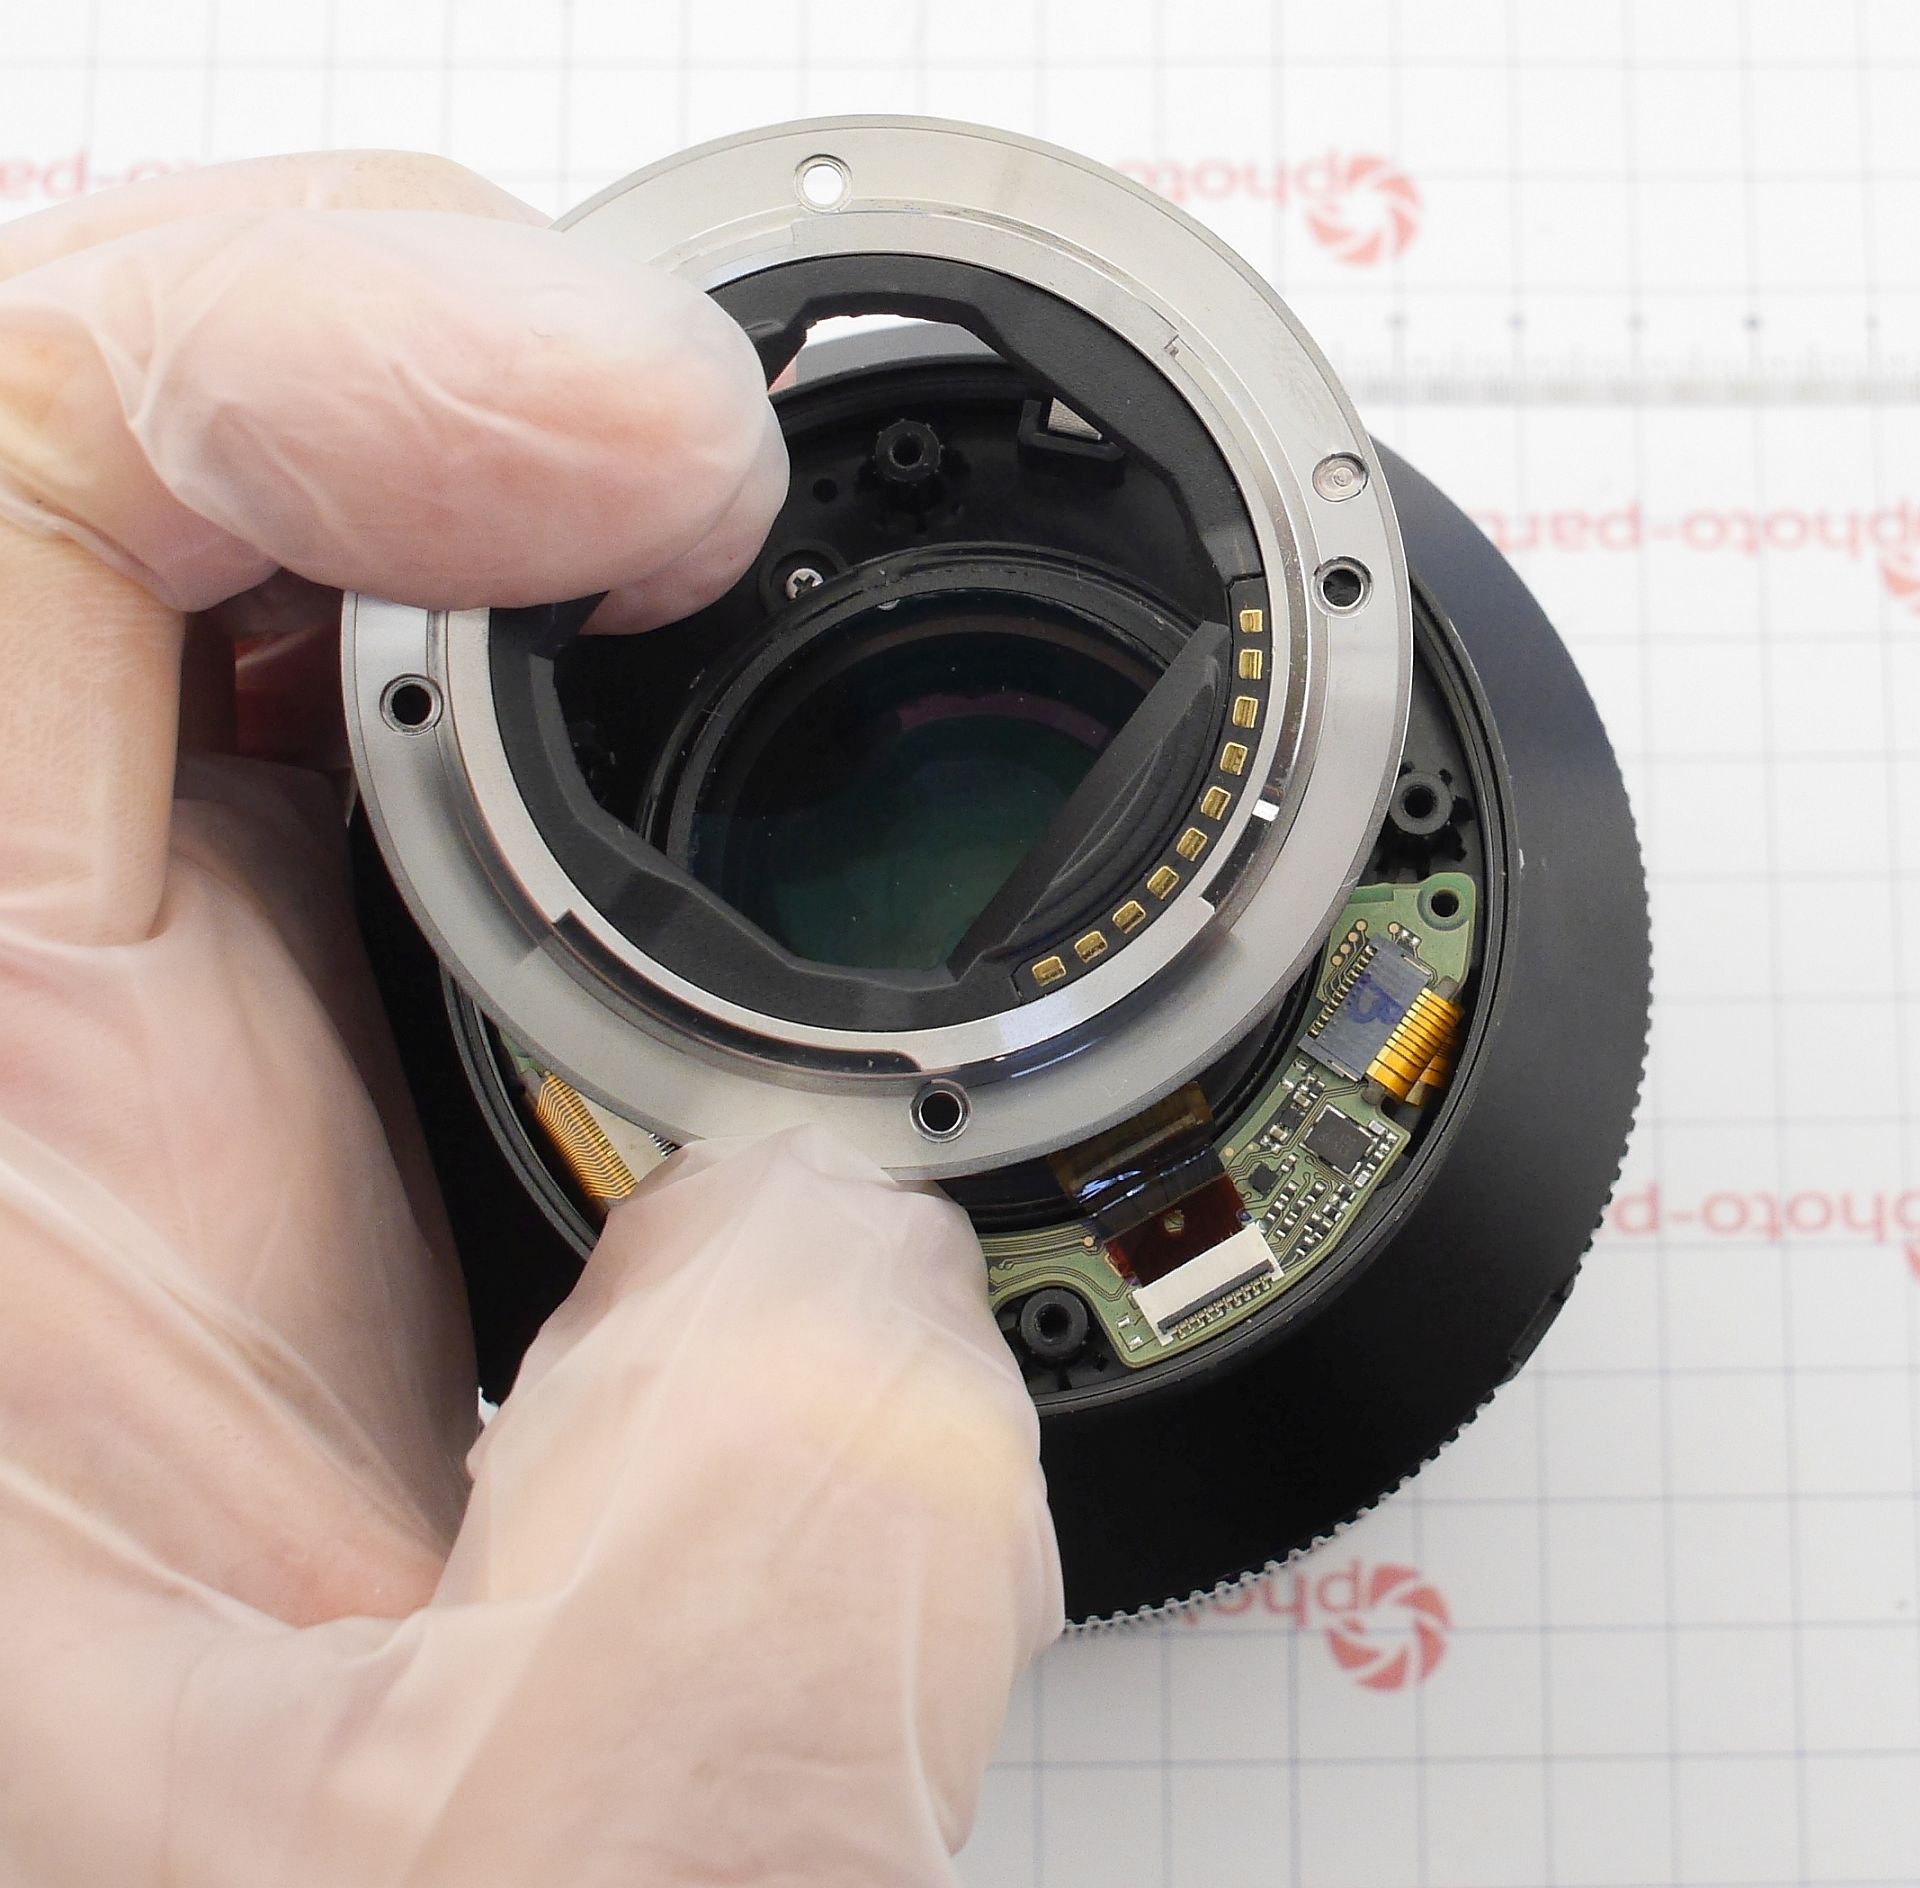
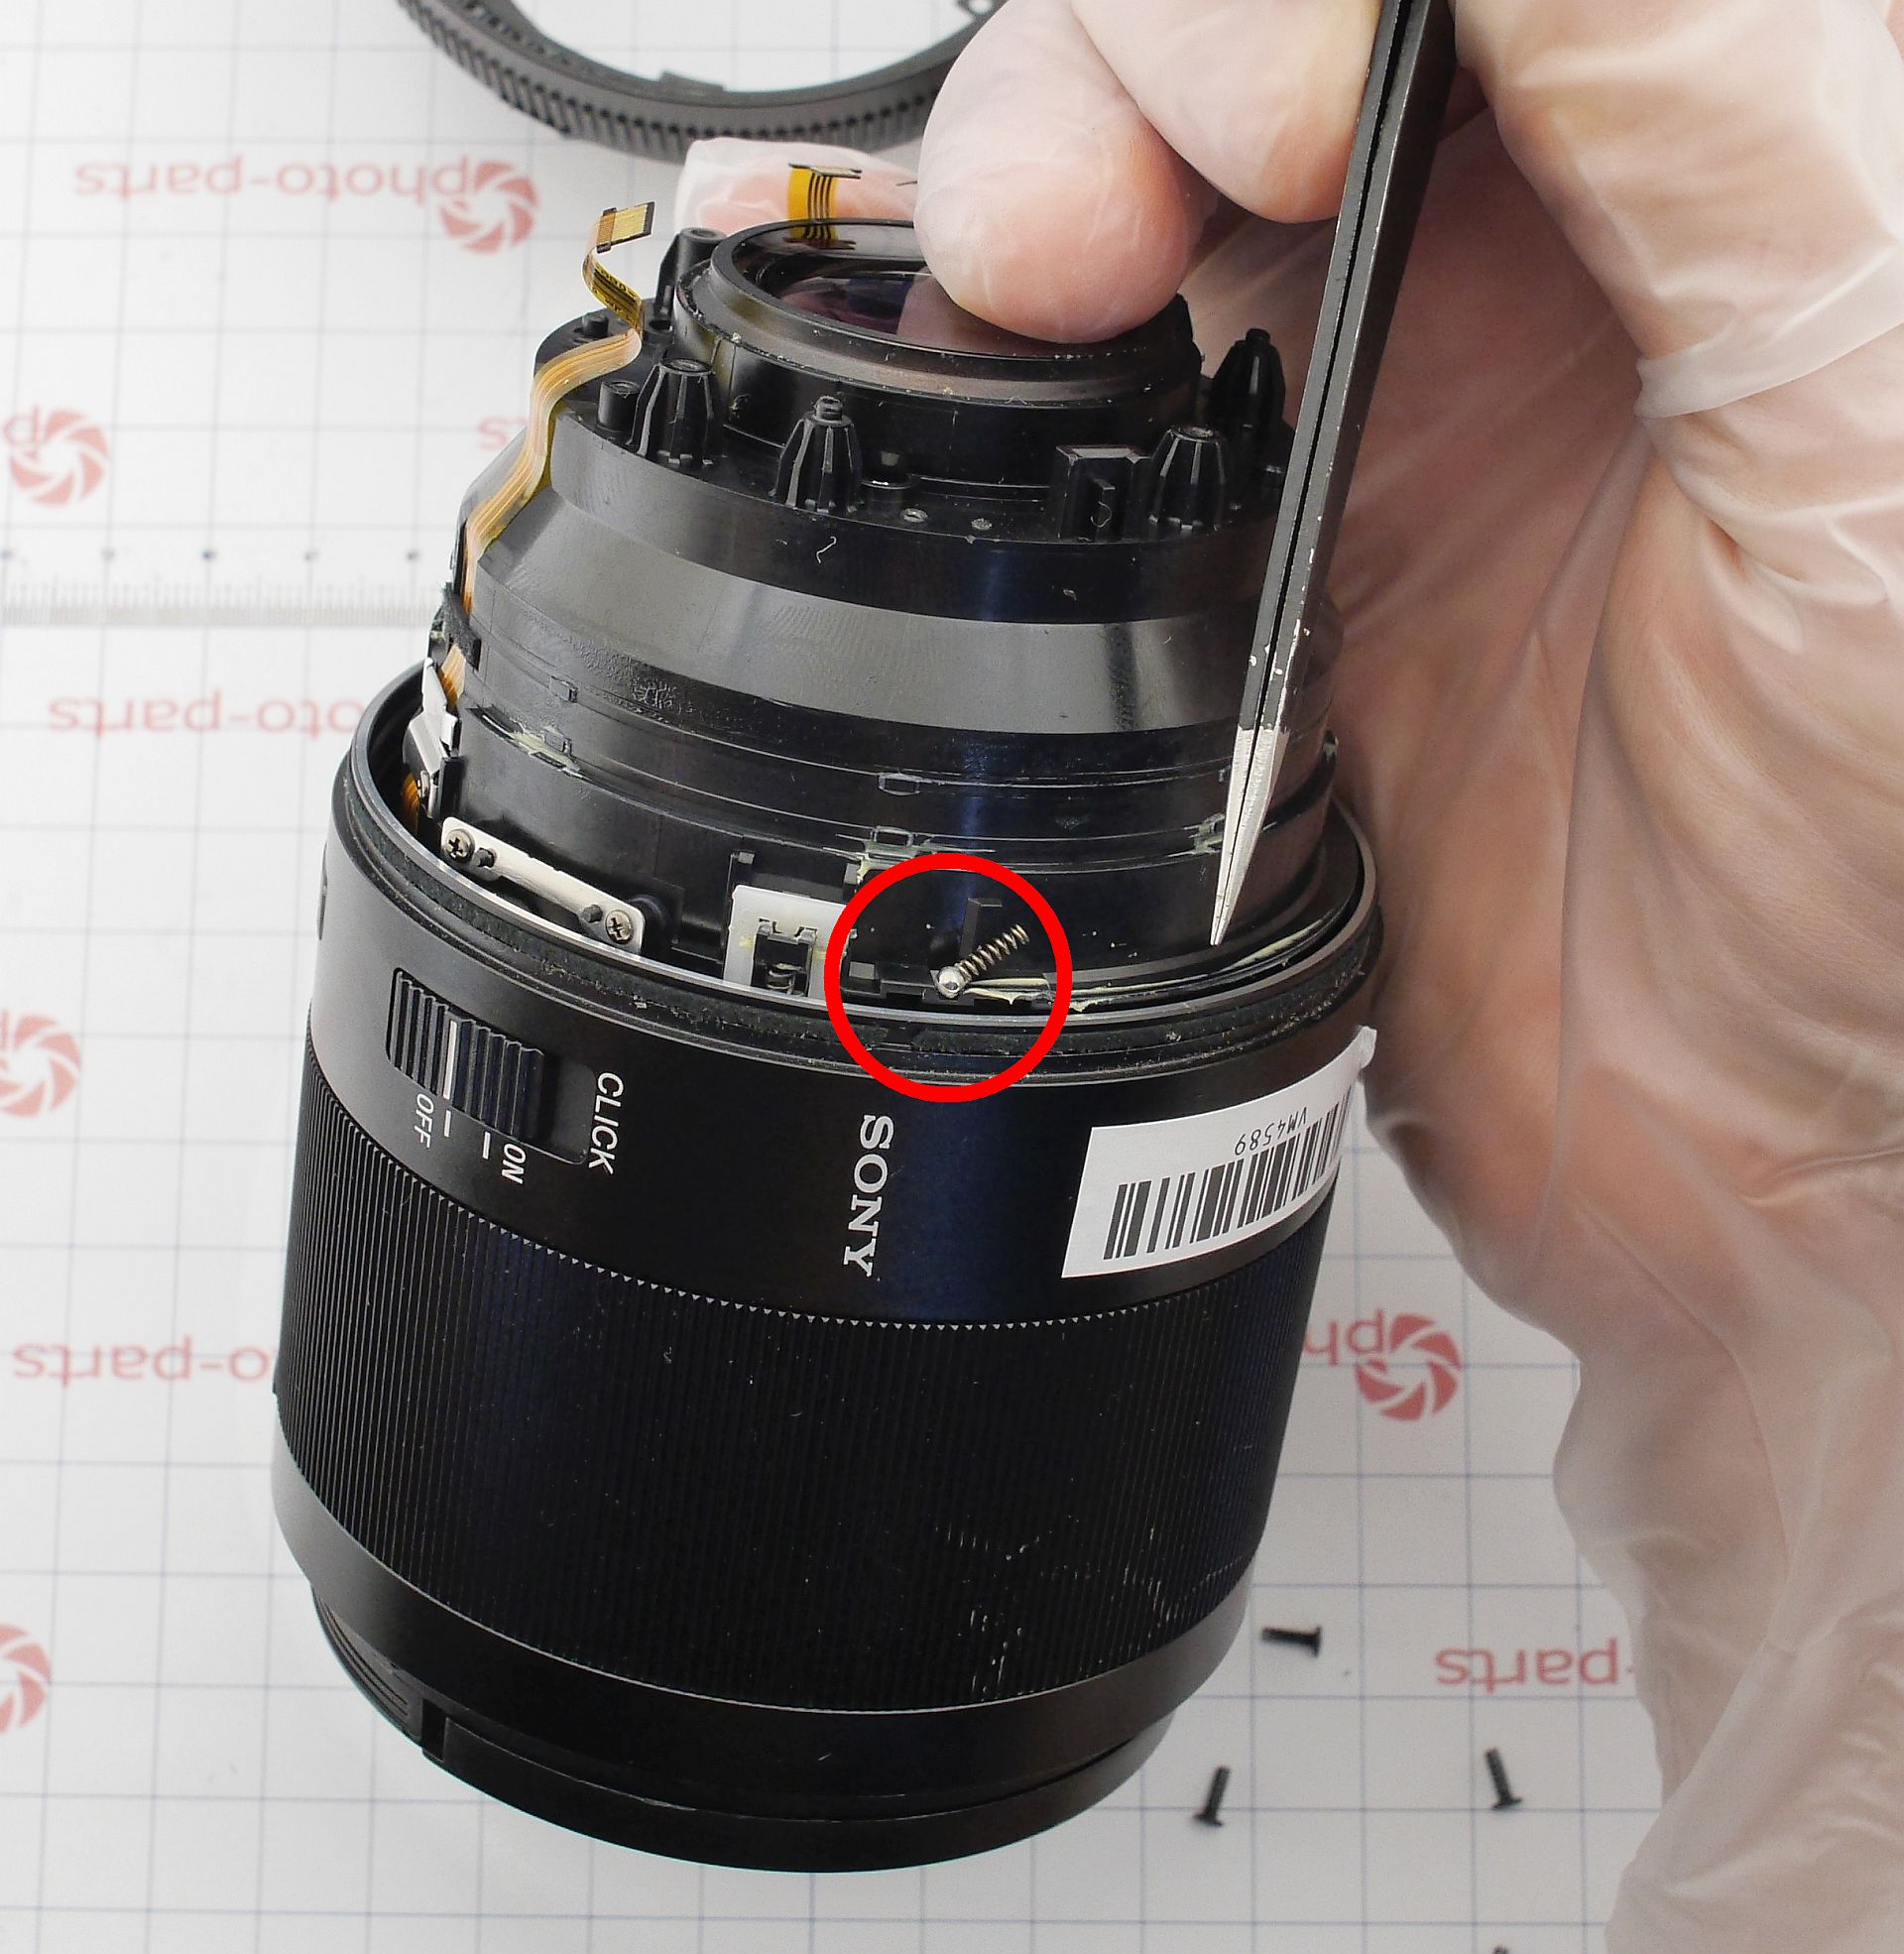
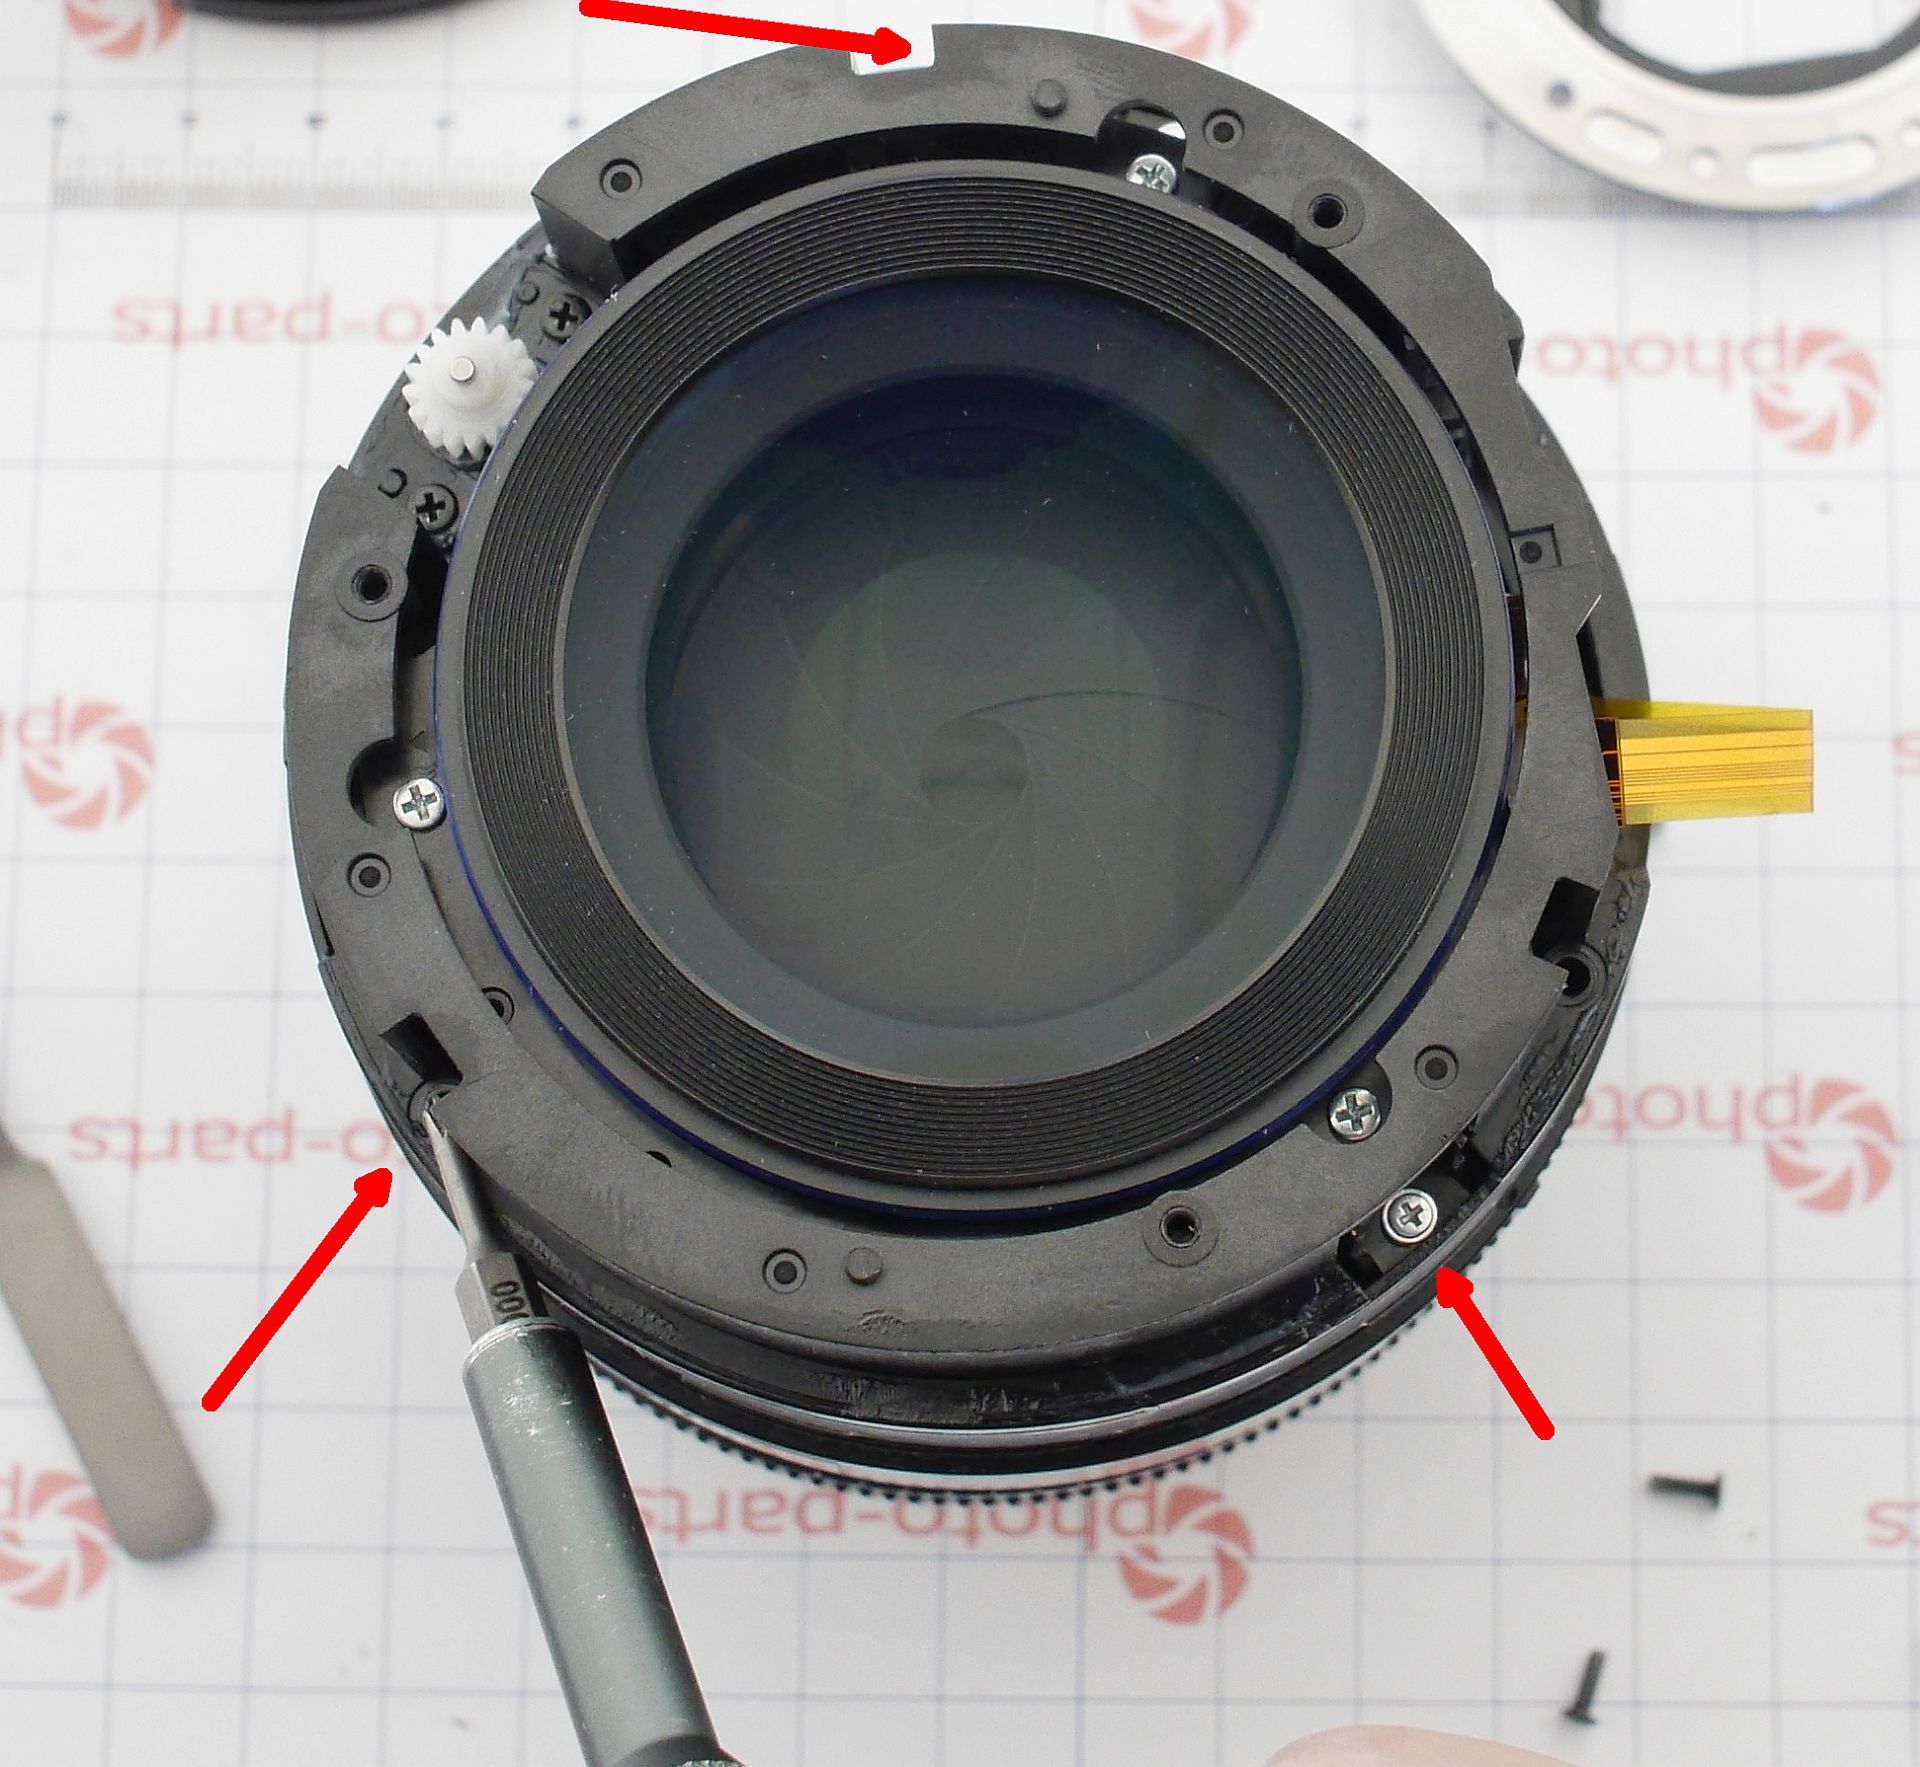
 Now it's time to extract the lens group.
Remove four screws near the rear lens group, and the whole optical unit comes out toward the mount.
Now it's time to extract the lens group.
Remove four screws near the rear lens group, and the whole optical unit comes out toward the mount.
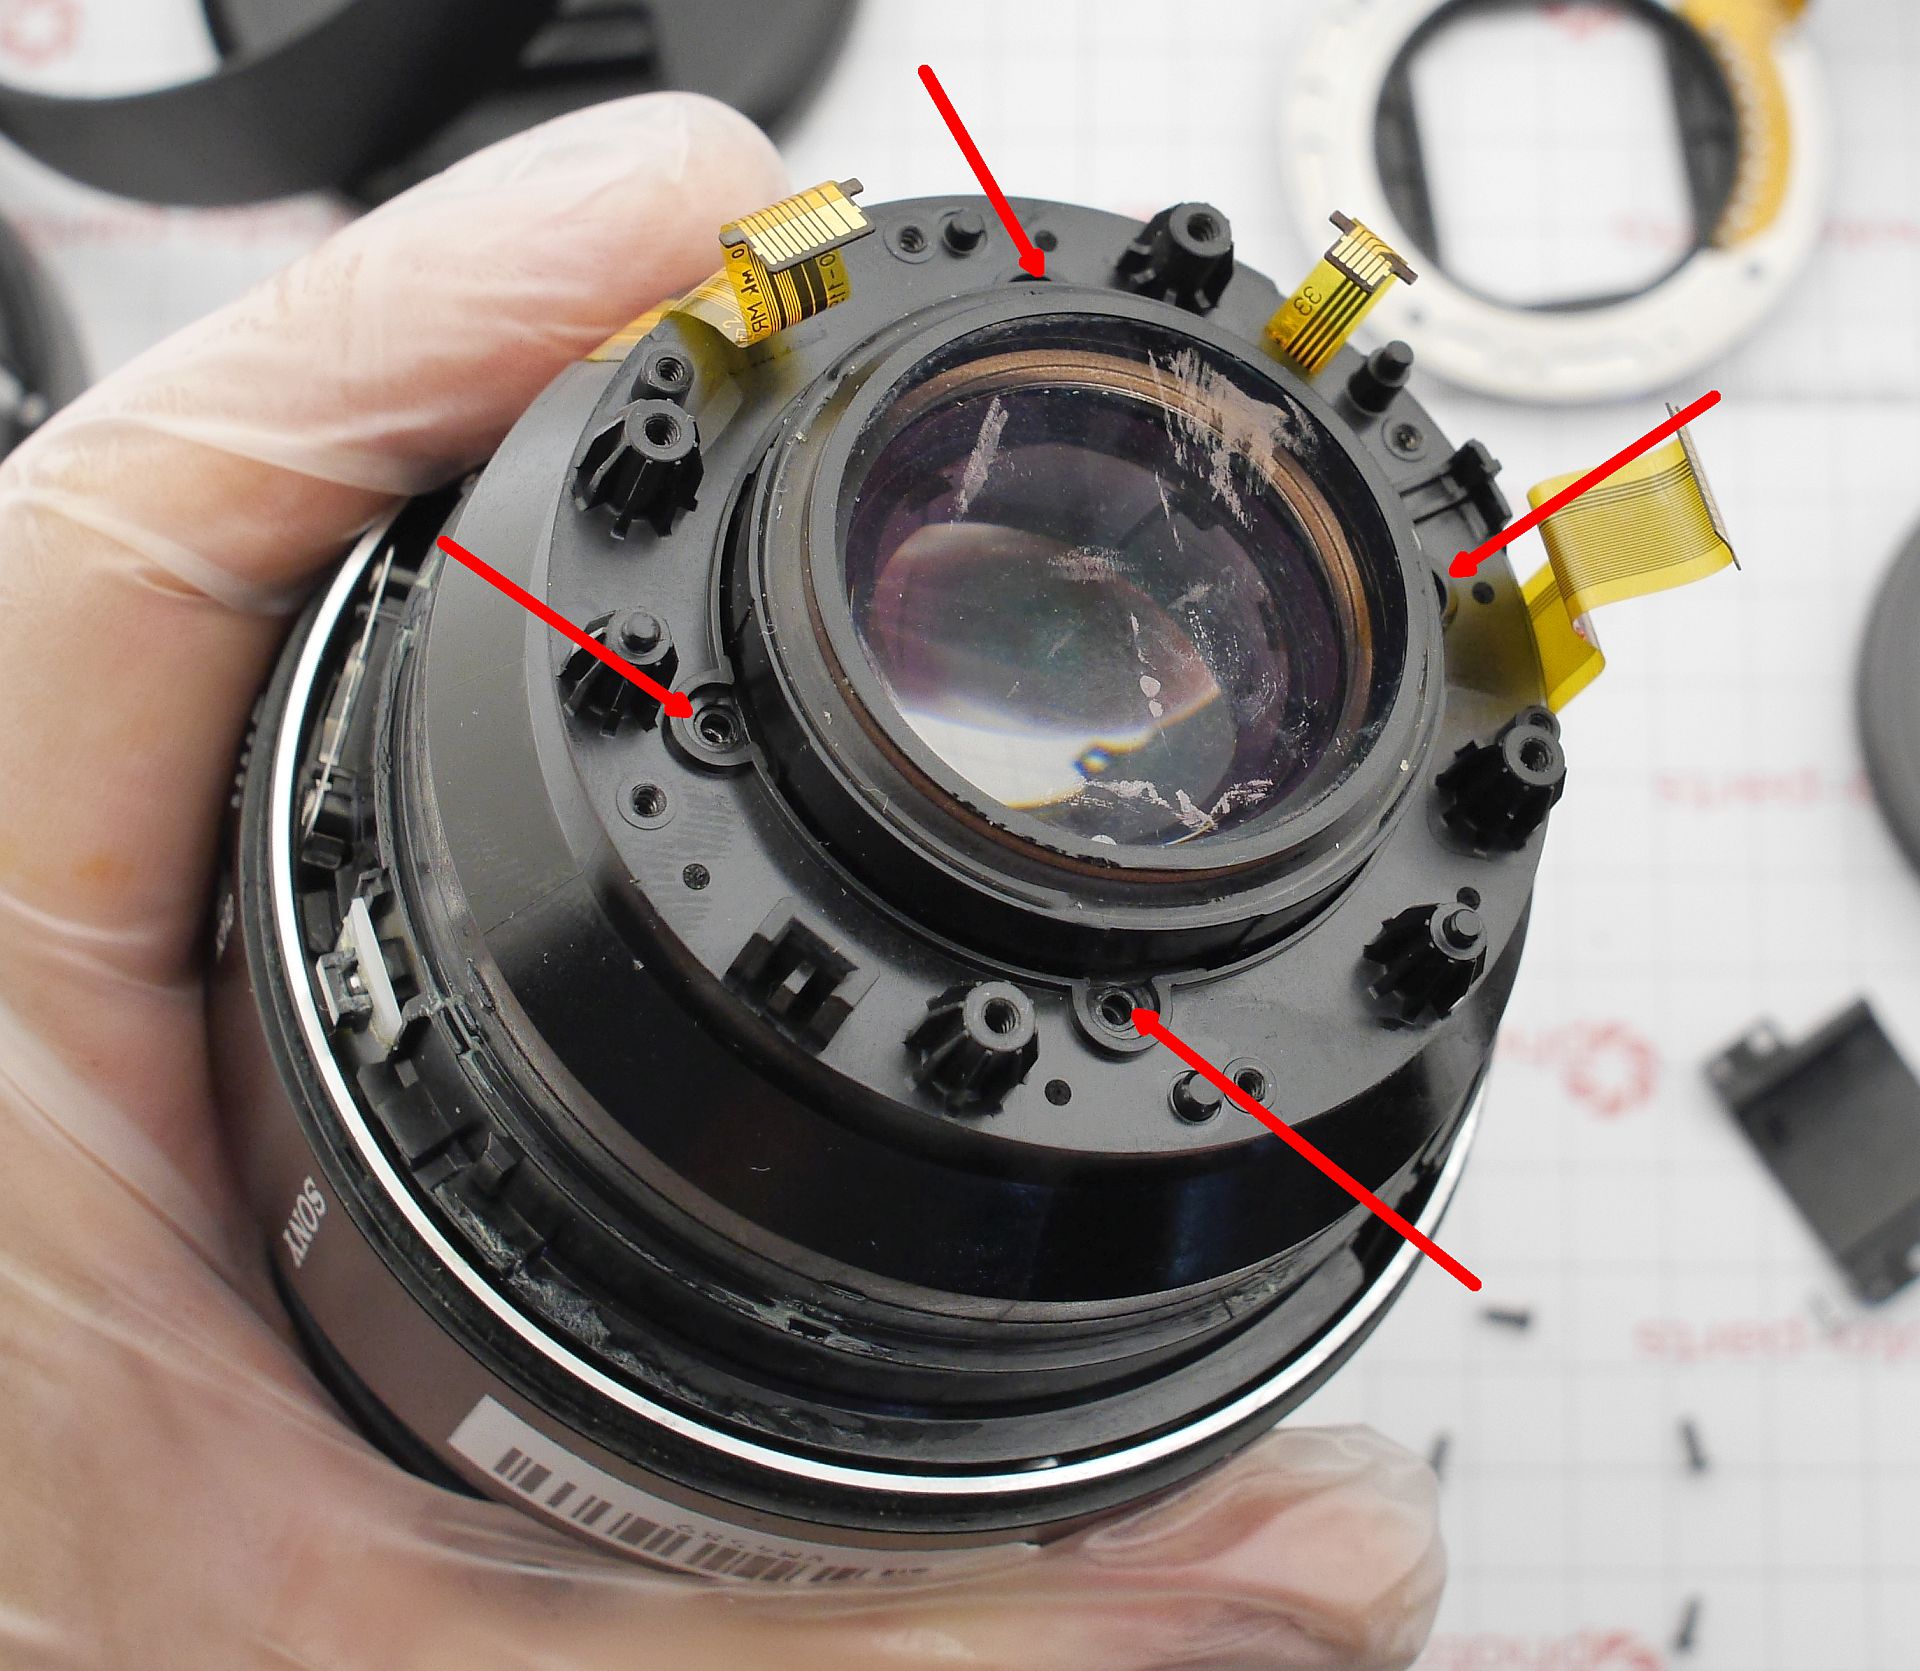 Let's pause and take a closer look at the design.
Turns out, the autofocus is driven by a ring-type ultrasonic motor - in Sony terms, simply SSM.
This tech is fairly old and originally came from Sony A-mount lenses.
Let's pause and take a closer look at the design.
Turns out, the autofocus is driven by a ring-type ultrasonic motor - in Sony terms, simply SSM.
This tech is fairly old and originally came from Sony A-mount lenses.
In terms of speed, this motor is on par with trendy "linear" motors, but it definitely adds weight. Every ultrasonic motor needs positional feedback on its rotor. There are generally three types of sensors for that:
- Contact magnetic sensor similar to a tape head in a cassette player, using magnetoresistive (MR) tech instead of inductive.
- Non-contact magnetic sensor conceptually the same as the contact type, but works over a gap. Requires stronger magnetization, so instead of tape, it uses a solid ferromagnetic block. As a result, it's used only for linear motion, not rotation.
- Optical sensors Canon loves these, often exotic and sometimes laser-based.
The sensor's job is to generate a periodic signal during lens movement. Often (and always with magnetic types), it produces two signals offset by 90 deg, so the system knows how far and in which direction the lens has moved.
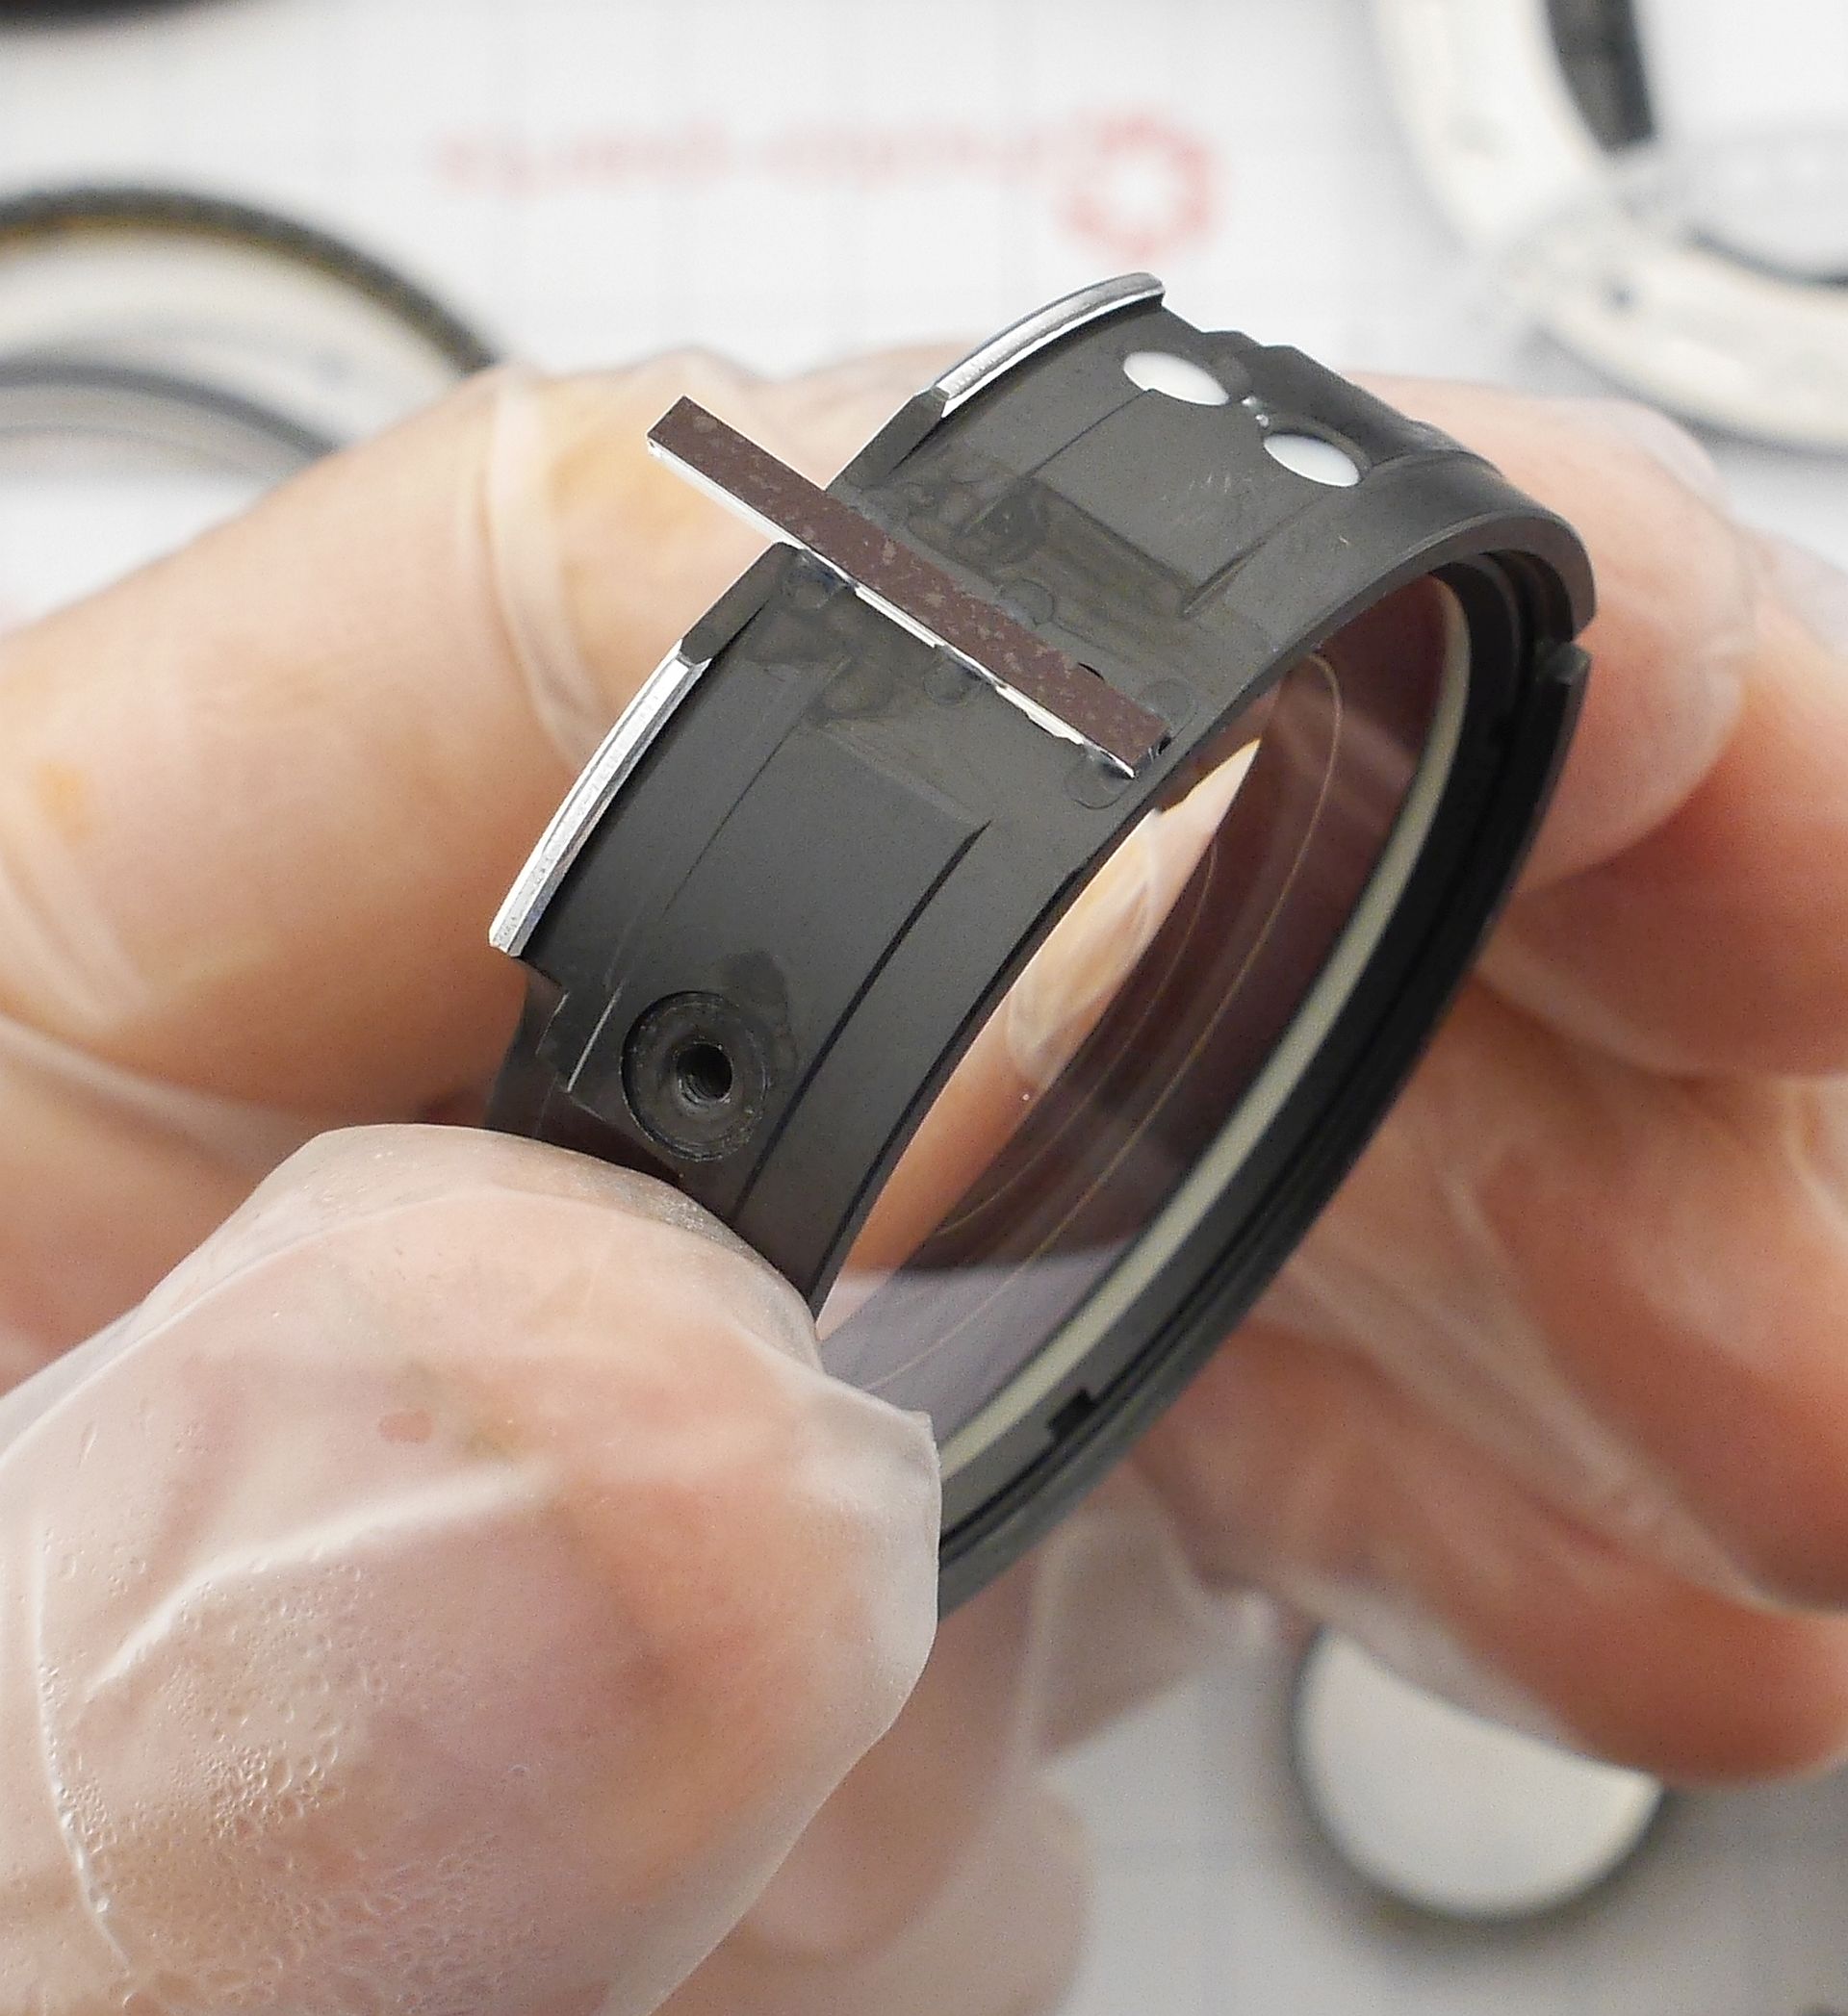
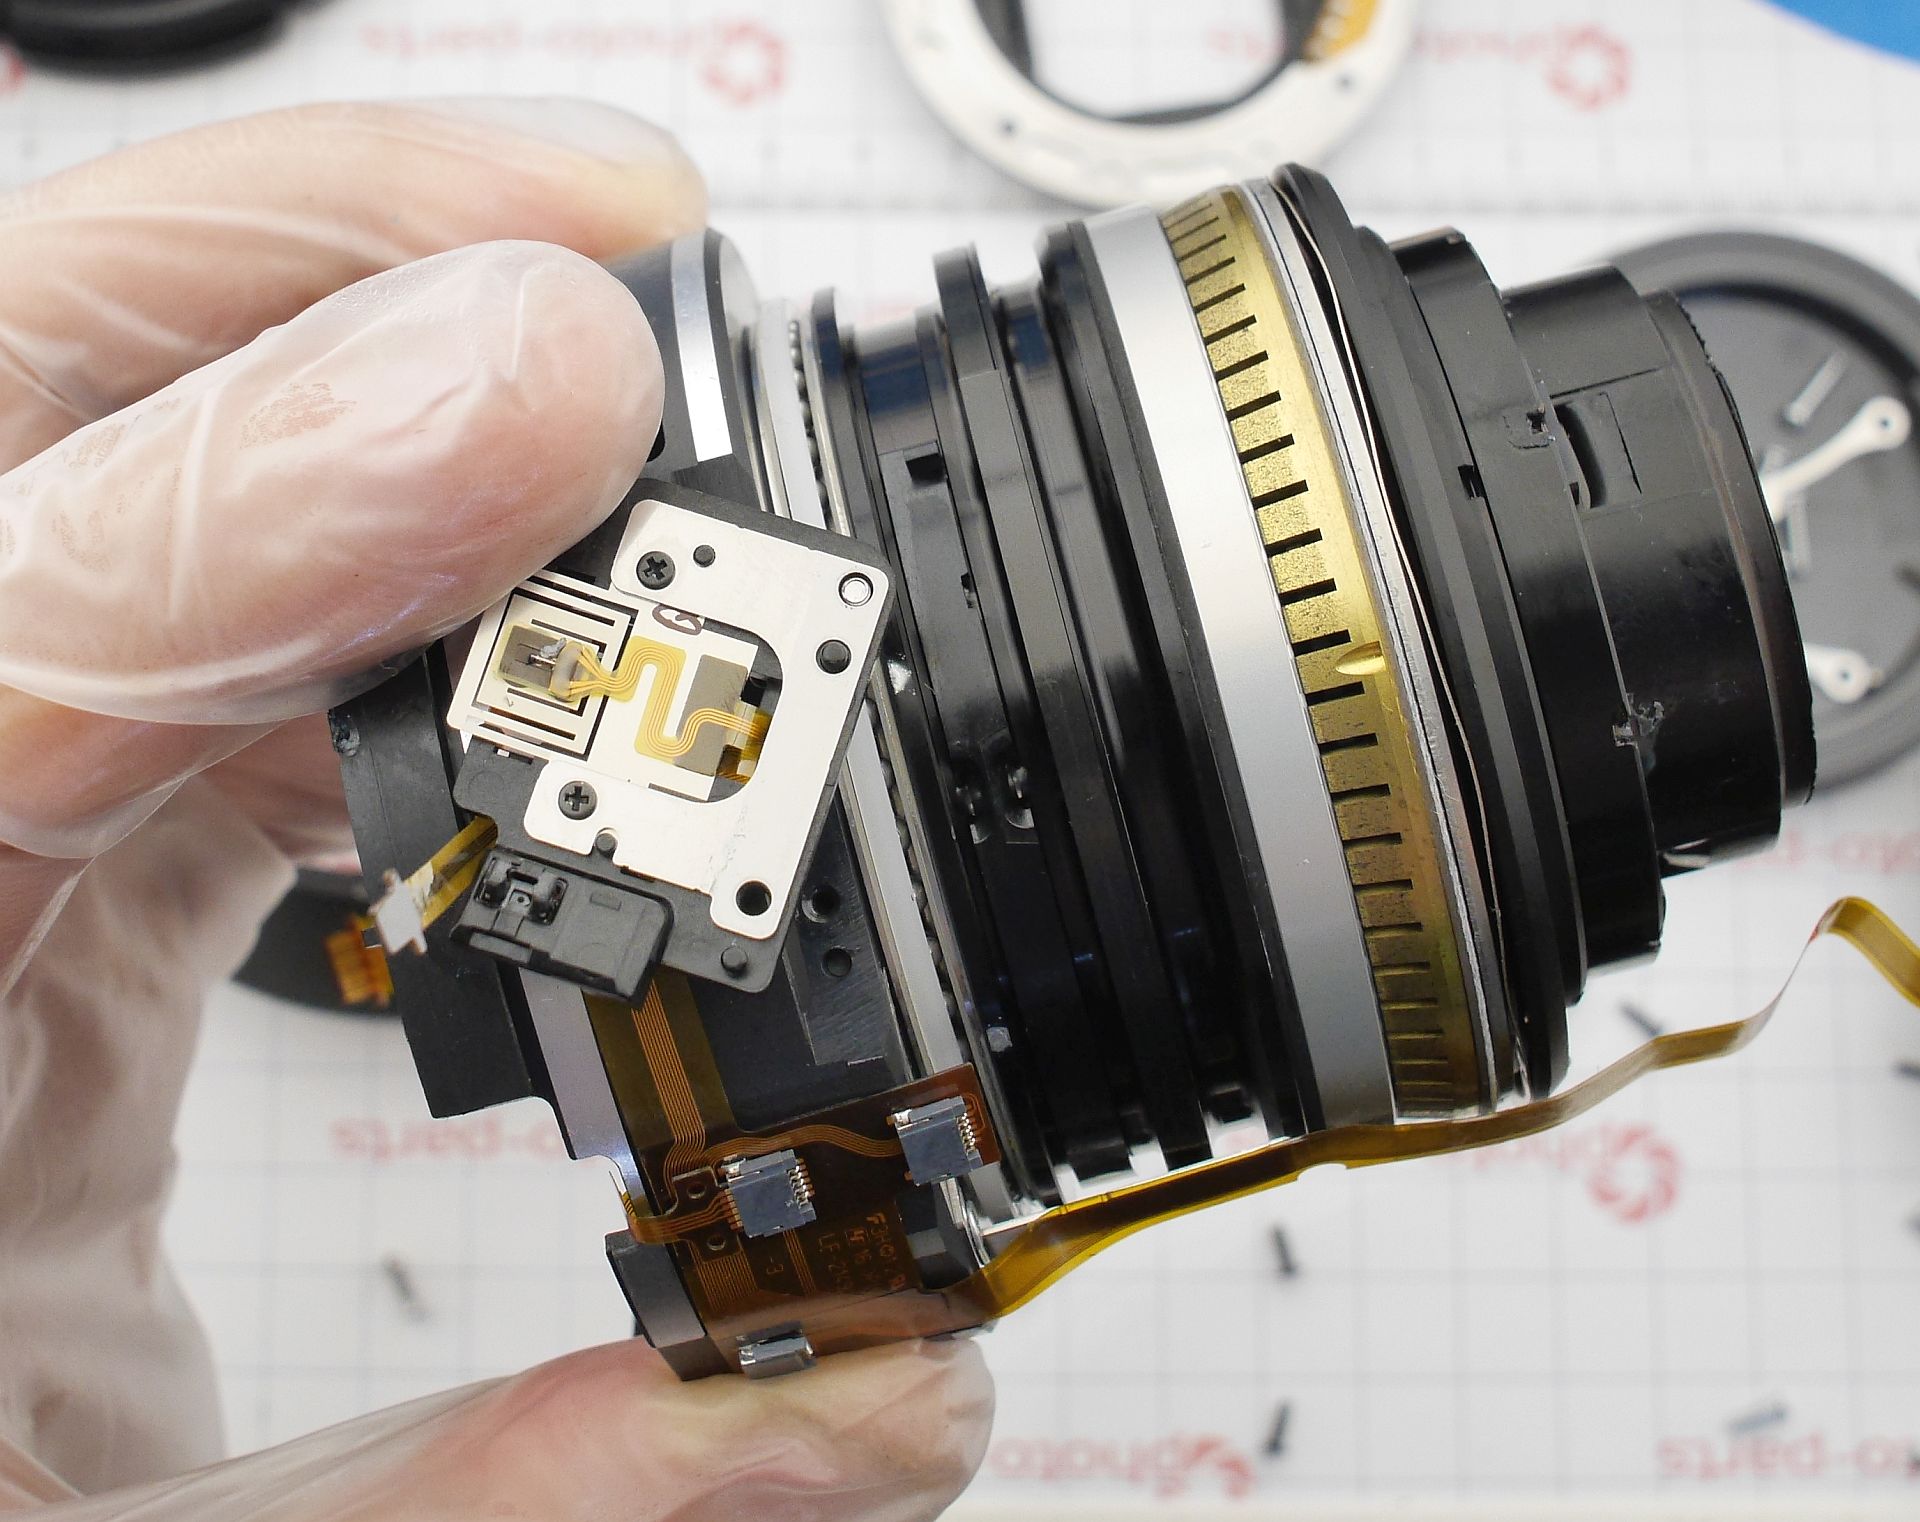 This lens has a magnetic sensor paired with a magnetic strip on the focusing ring.
It looked familiar - these are widely used in Nikon lenses!
This lens has a magnetic sensor paired with a magnetic strip on the focusing ring.
It looked familiar - these are widely used in Nikon lenses!
A quick check showed no obvious issues with the sensor - and crucially, the lens responded when the sensor was unplugged. That suggests the module is probably working.
Important! Further disassembly affects optical calibration. I dug in too deep and regret it - wouldn't recommend.
This lens also has a second set of sensors mounted directly on the focus lens - a non-contact magnetic sensor and a solid block.
 That's a bit overkill, clearly - but I guess the engineers had their reasons.
Even disconnecting this second sensor caused a response from the lens!
At this point, trial and error wouldn't cut it. I used an oscilloscope to probe the sensors while moving the lens.
The internal non-contact sensor checked out fine. But the contact magnetic sensor had failed - one output was dead, tied to ground.
Finding an original replacement was beyond my reach. And so the "chimera" was born - a Sony lens with a sensor head from a Nikon.
The cross-species transplant involved gluing a Nikon MR-head onto the original bracket. The donor? A Nikon 24-70mm f/2.8 G - I'll return the part later.
Here's the result, please use closed captions:
After the transplant, everything works as expected - and after restoring the optical calibration, it shoots beautifully.
Add Comment
This policy contains information about your privacy. By posting, you are declaring that you understand this policy:
- Your name, rating, website address, town, country, state and comment will be publicly displayed if entered.
- Aside from the data entered into these form fields, other stored data about your comment will include:
- Your IP address (not displayed)
- The time/date of your submission (displayed)
- Your email address will not be shared. It is collected for only two reasons:
- Administrative purposes, should a need to contact you arise.
- To inform you of new comments, should you subscribe to receive notifications.
- A cookie may be set on your computer. This is used to remember your inputs. It will expire by itself.
This policy is subject to change at any time and without notice.
These terms and conditions contain rules about posting comments. By submitting a comment, you are declaring that you agree with these rules:
- Although the administrator will attempt to moderate comments, it is impossible for every comment to have been moderated at any given time.
- You acknowledge that all comments express the views and opinions of the original author and not those of the administrator.
- You agree not to post any material which is knowingly false, obscene, hateful, threatening, harassing or invasive of a person's privacy.
- The administrator has the right to edit, move or remove any comment for any reason and without notice.
Failure to comply with these rules may result in being banned from submitting further comments.
These terms and conditions are subject to change at any time and without notice.
Comments